Ansys
Control Arm Optimization
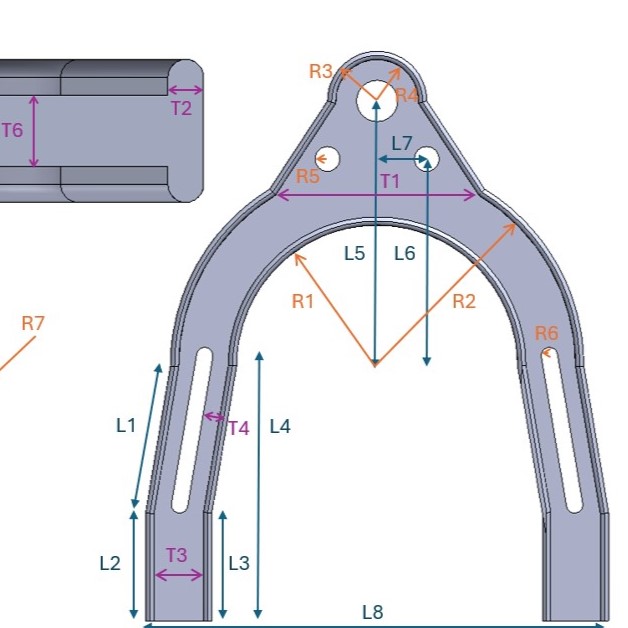
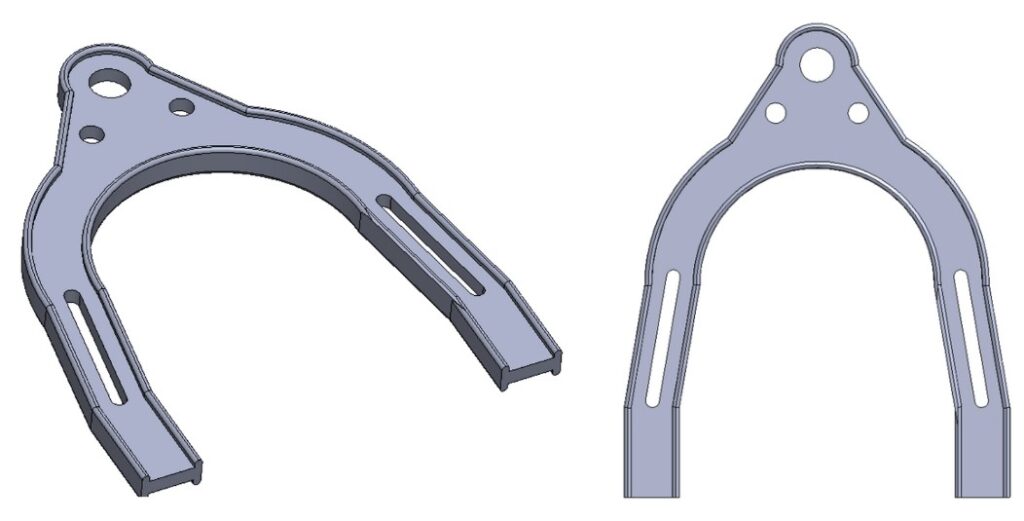
The upper control arm is a metal link in a car that holds the top of the wheel in place, ensuring it stays straight while you drive. The goal was to remove material to reduce weight and save fuel without making the part too fragile to withstand the forces of daily driving.
A lighter control arm results in a smoother ride and better fuel economy, but removing too much weight can compromise it.
Topology optimization was performed using Ansys to minimize the weight of the arm while ensuring structural integrity. A finite element (FE) model was constructed with material properties of 6061-T6 aluminum alloy and a 200N applied axial force, subject to the constraints: von Mises stress < 50 MPa and max deflection < 0.5 mm.
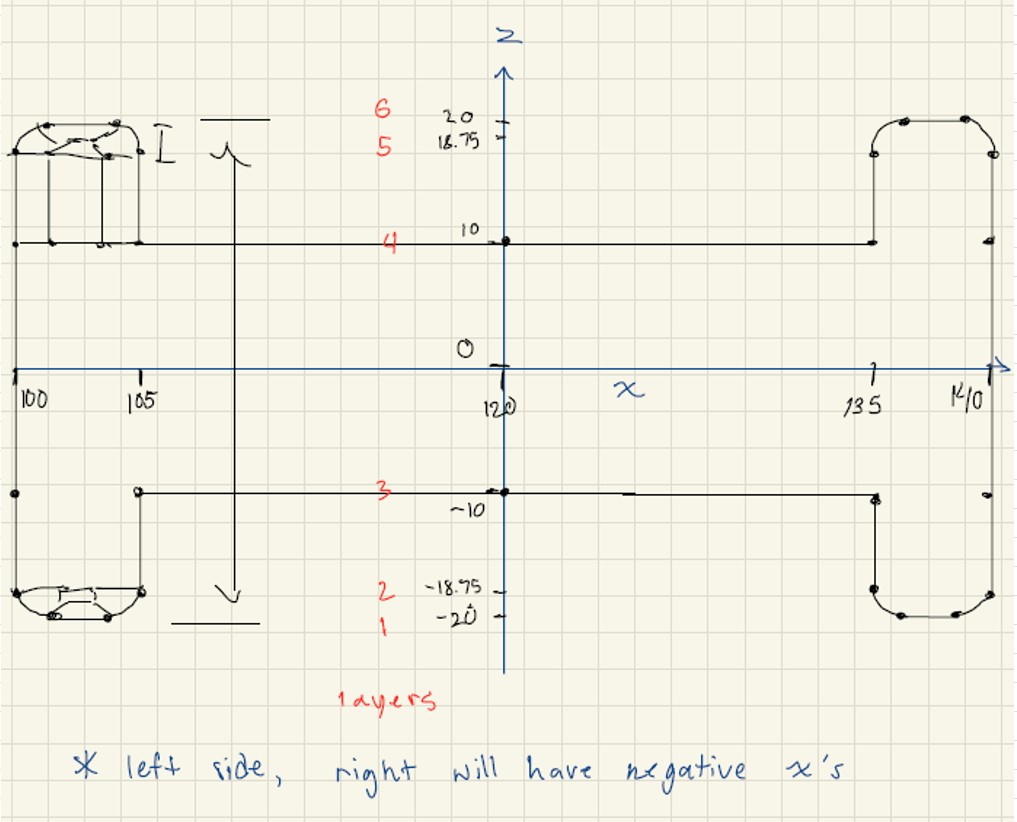
With a team of 5 Mechanical engineers, the bottom up method was used to create the FE model; creating key points, lines, areas, volumes, and elements. The FE model used hexahedral elements and mapped meshing for accurate and efficient simulations. The model consisted of 21 design variables, 7 layers, and fillet features.
The control arm weight was reduced by 52% weight, achieving a lightweight and structurally sound design meeting all constraints. Utilized Ansys APDL scripting to automate parametric design iterations, ensuring result reproducibility and enabling batch processing for computationally intensive optimization studies.
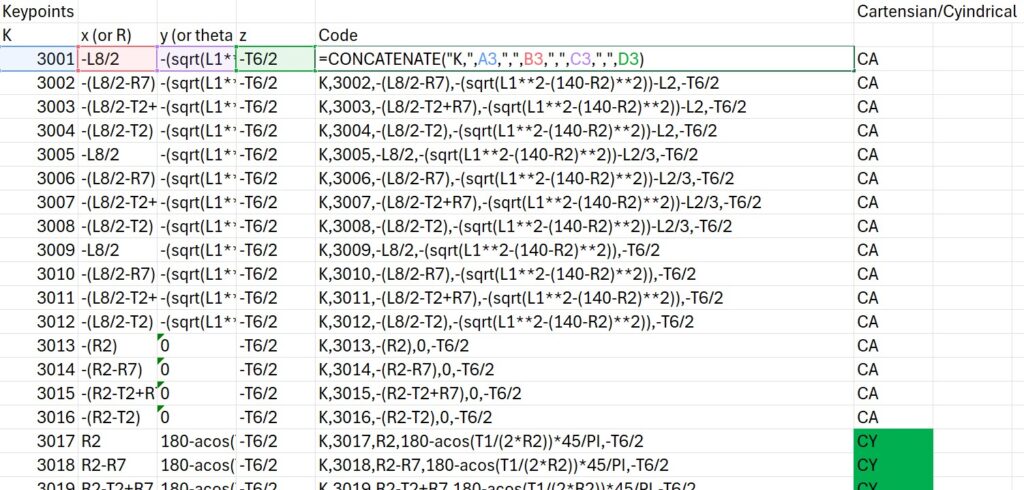
In addition to Ansys work, I organized a shared Excel sheet for project coordination, allowing work to be delegated and performed in parallel; streamlining workflow and troubleshooting.
Project Overview
Finite Element Analysis (FEA), Mechanical Engineering
Design Features
52% Weight Reduction, Ansys Mechanical APDL, Mapped Meshing
Scope of Work
Ansys Mechanical APDL, Design Optimization, SolidWorks, Compliance
Key Deliverables
Problem Statement, FE Model, Design Optimization, Presentation
Process and Work
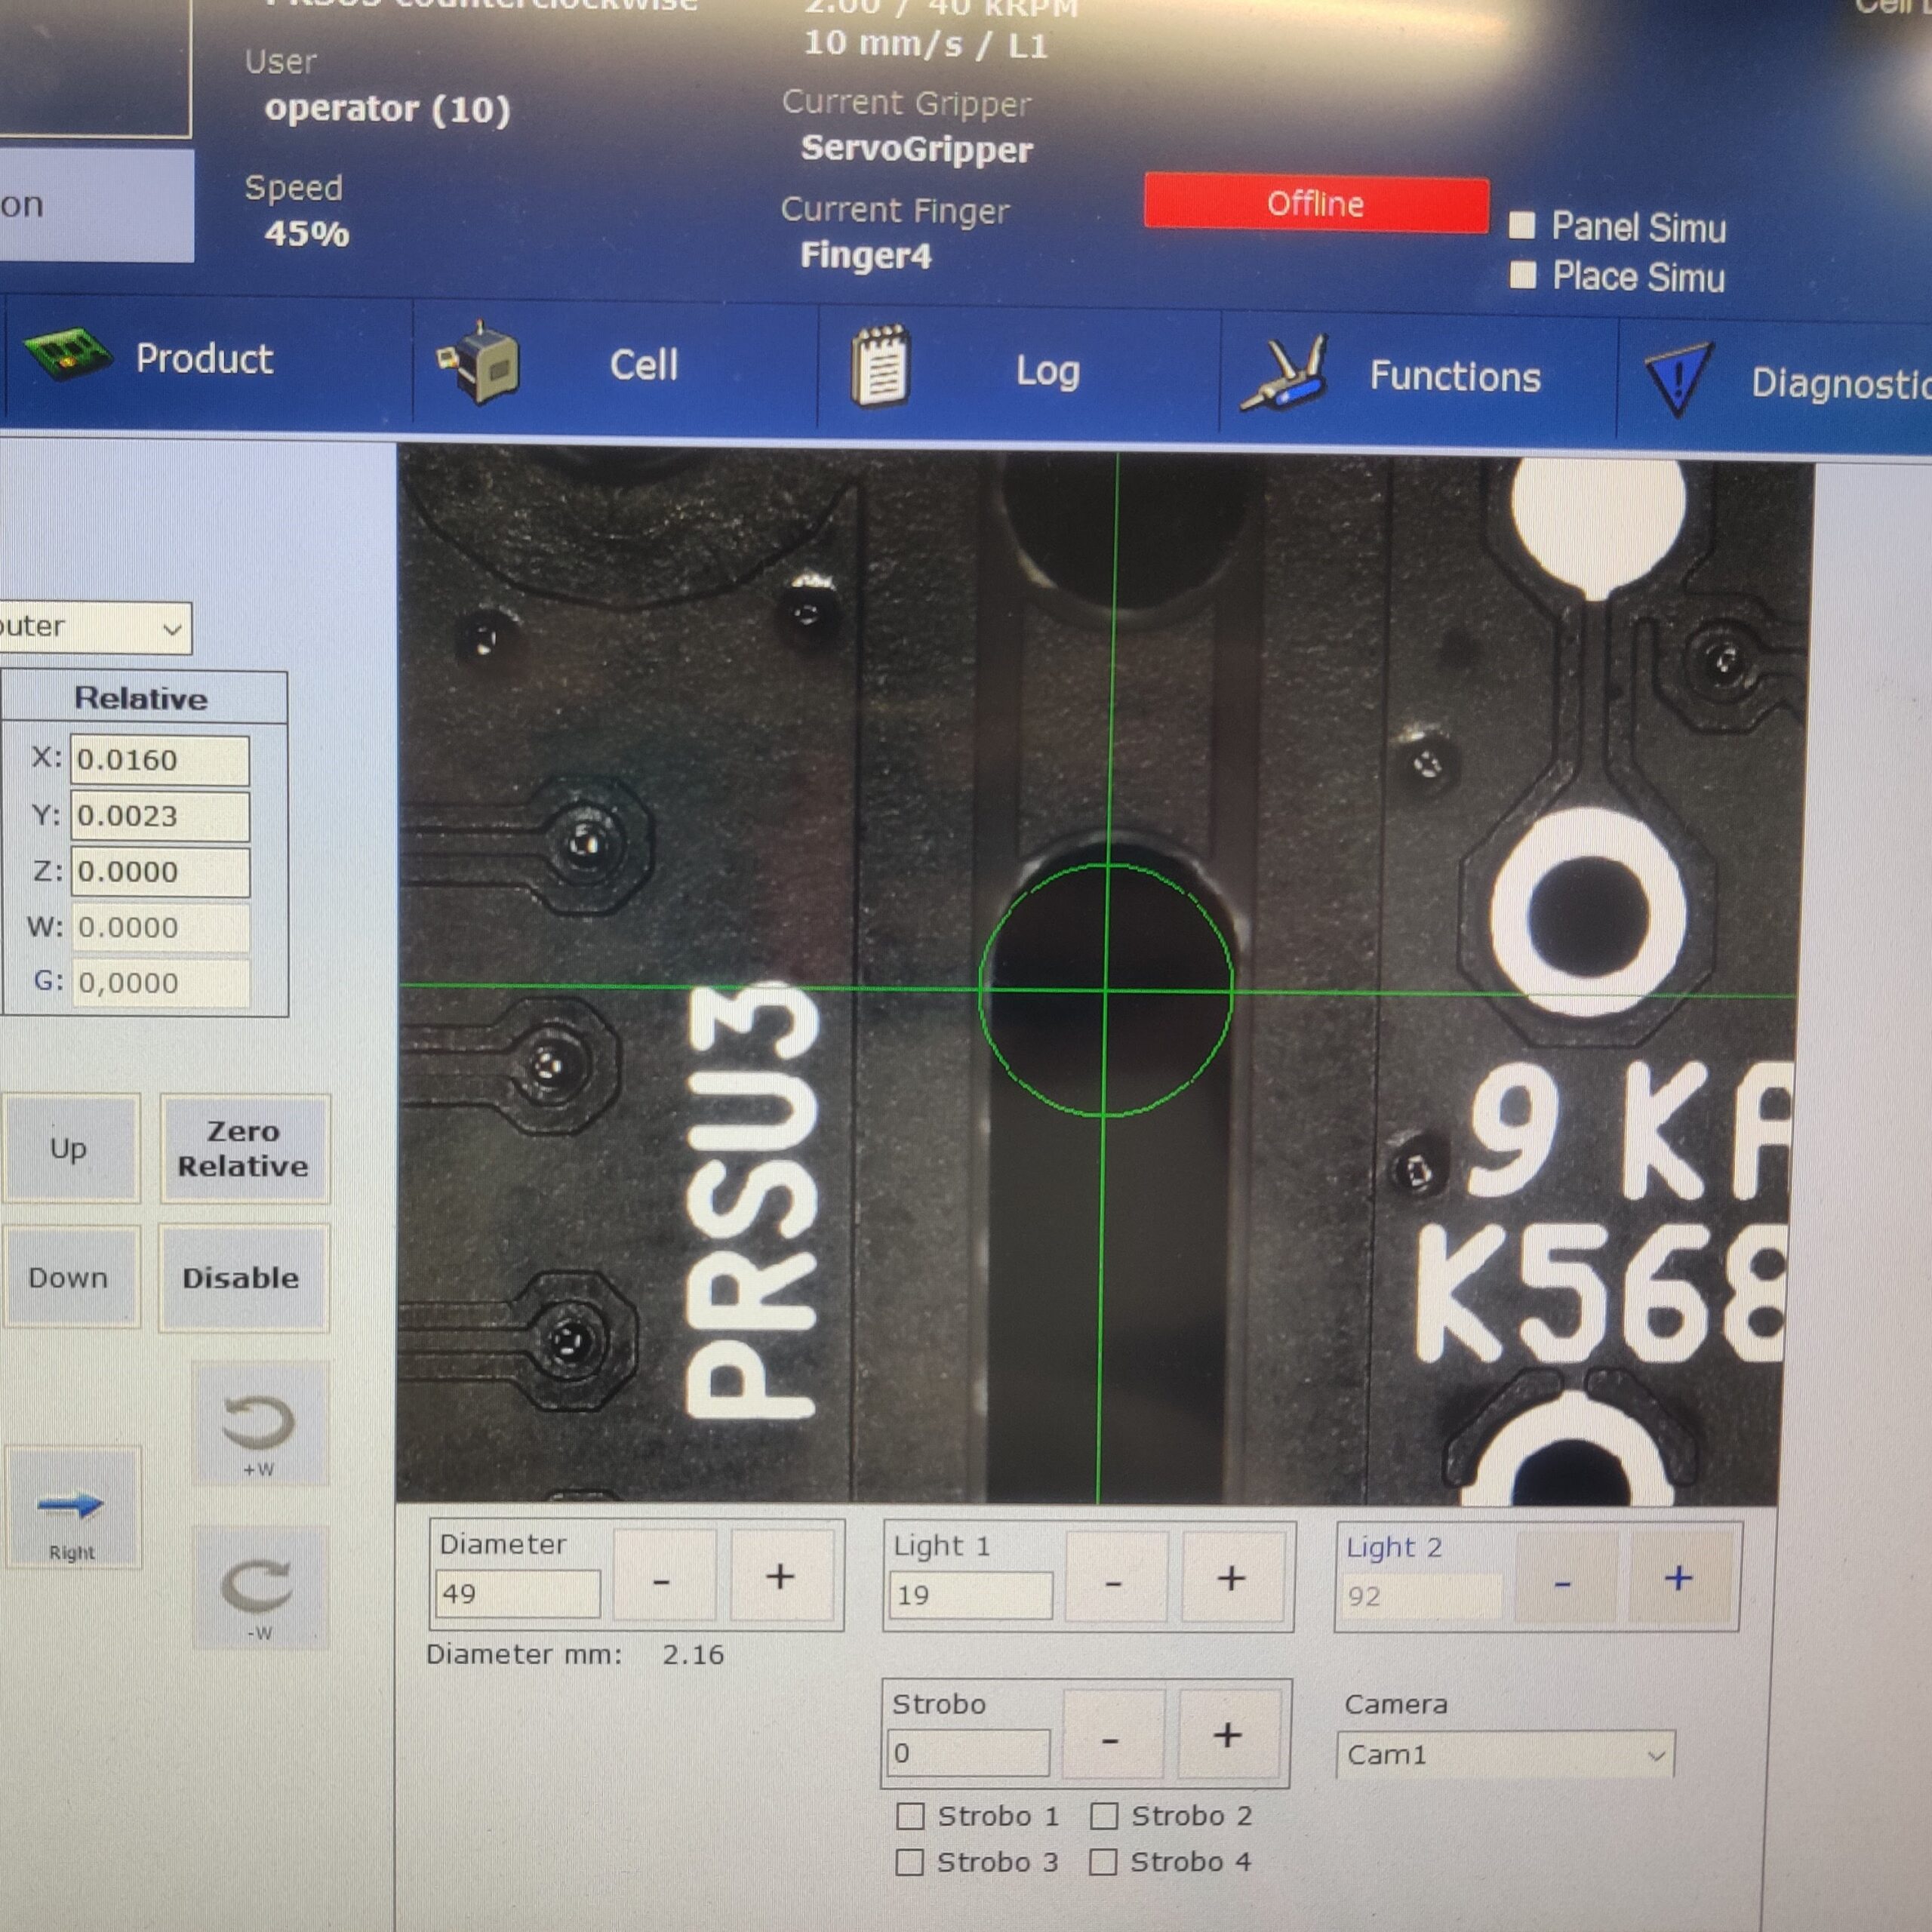
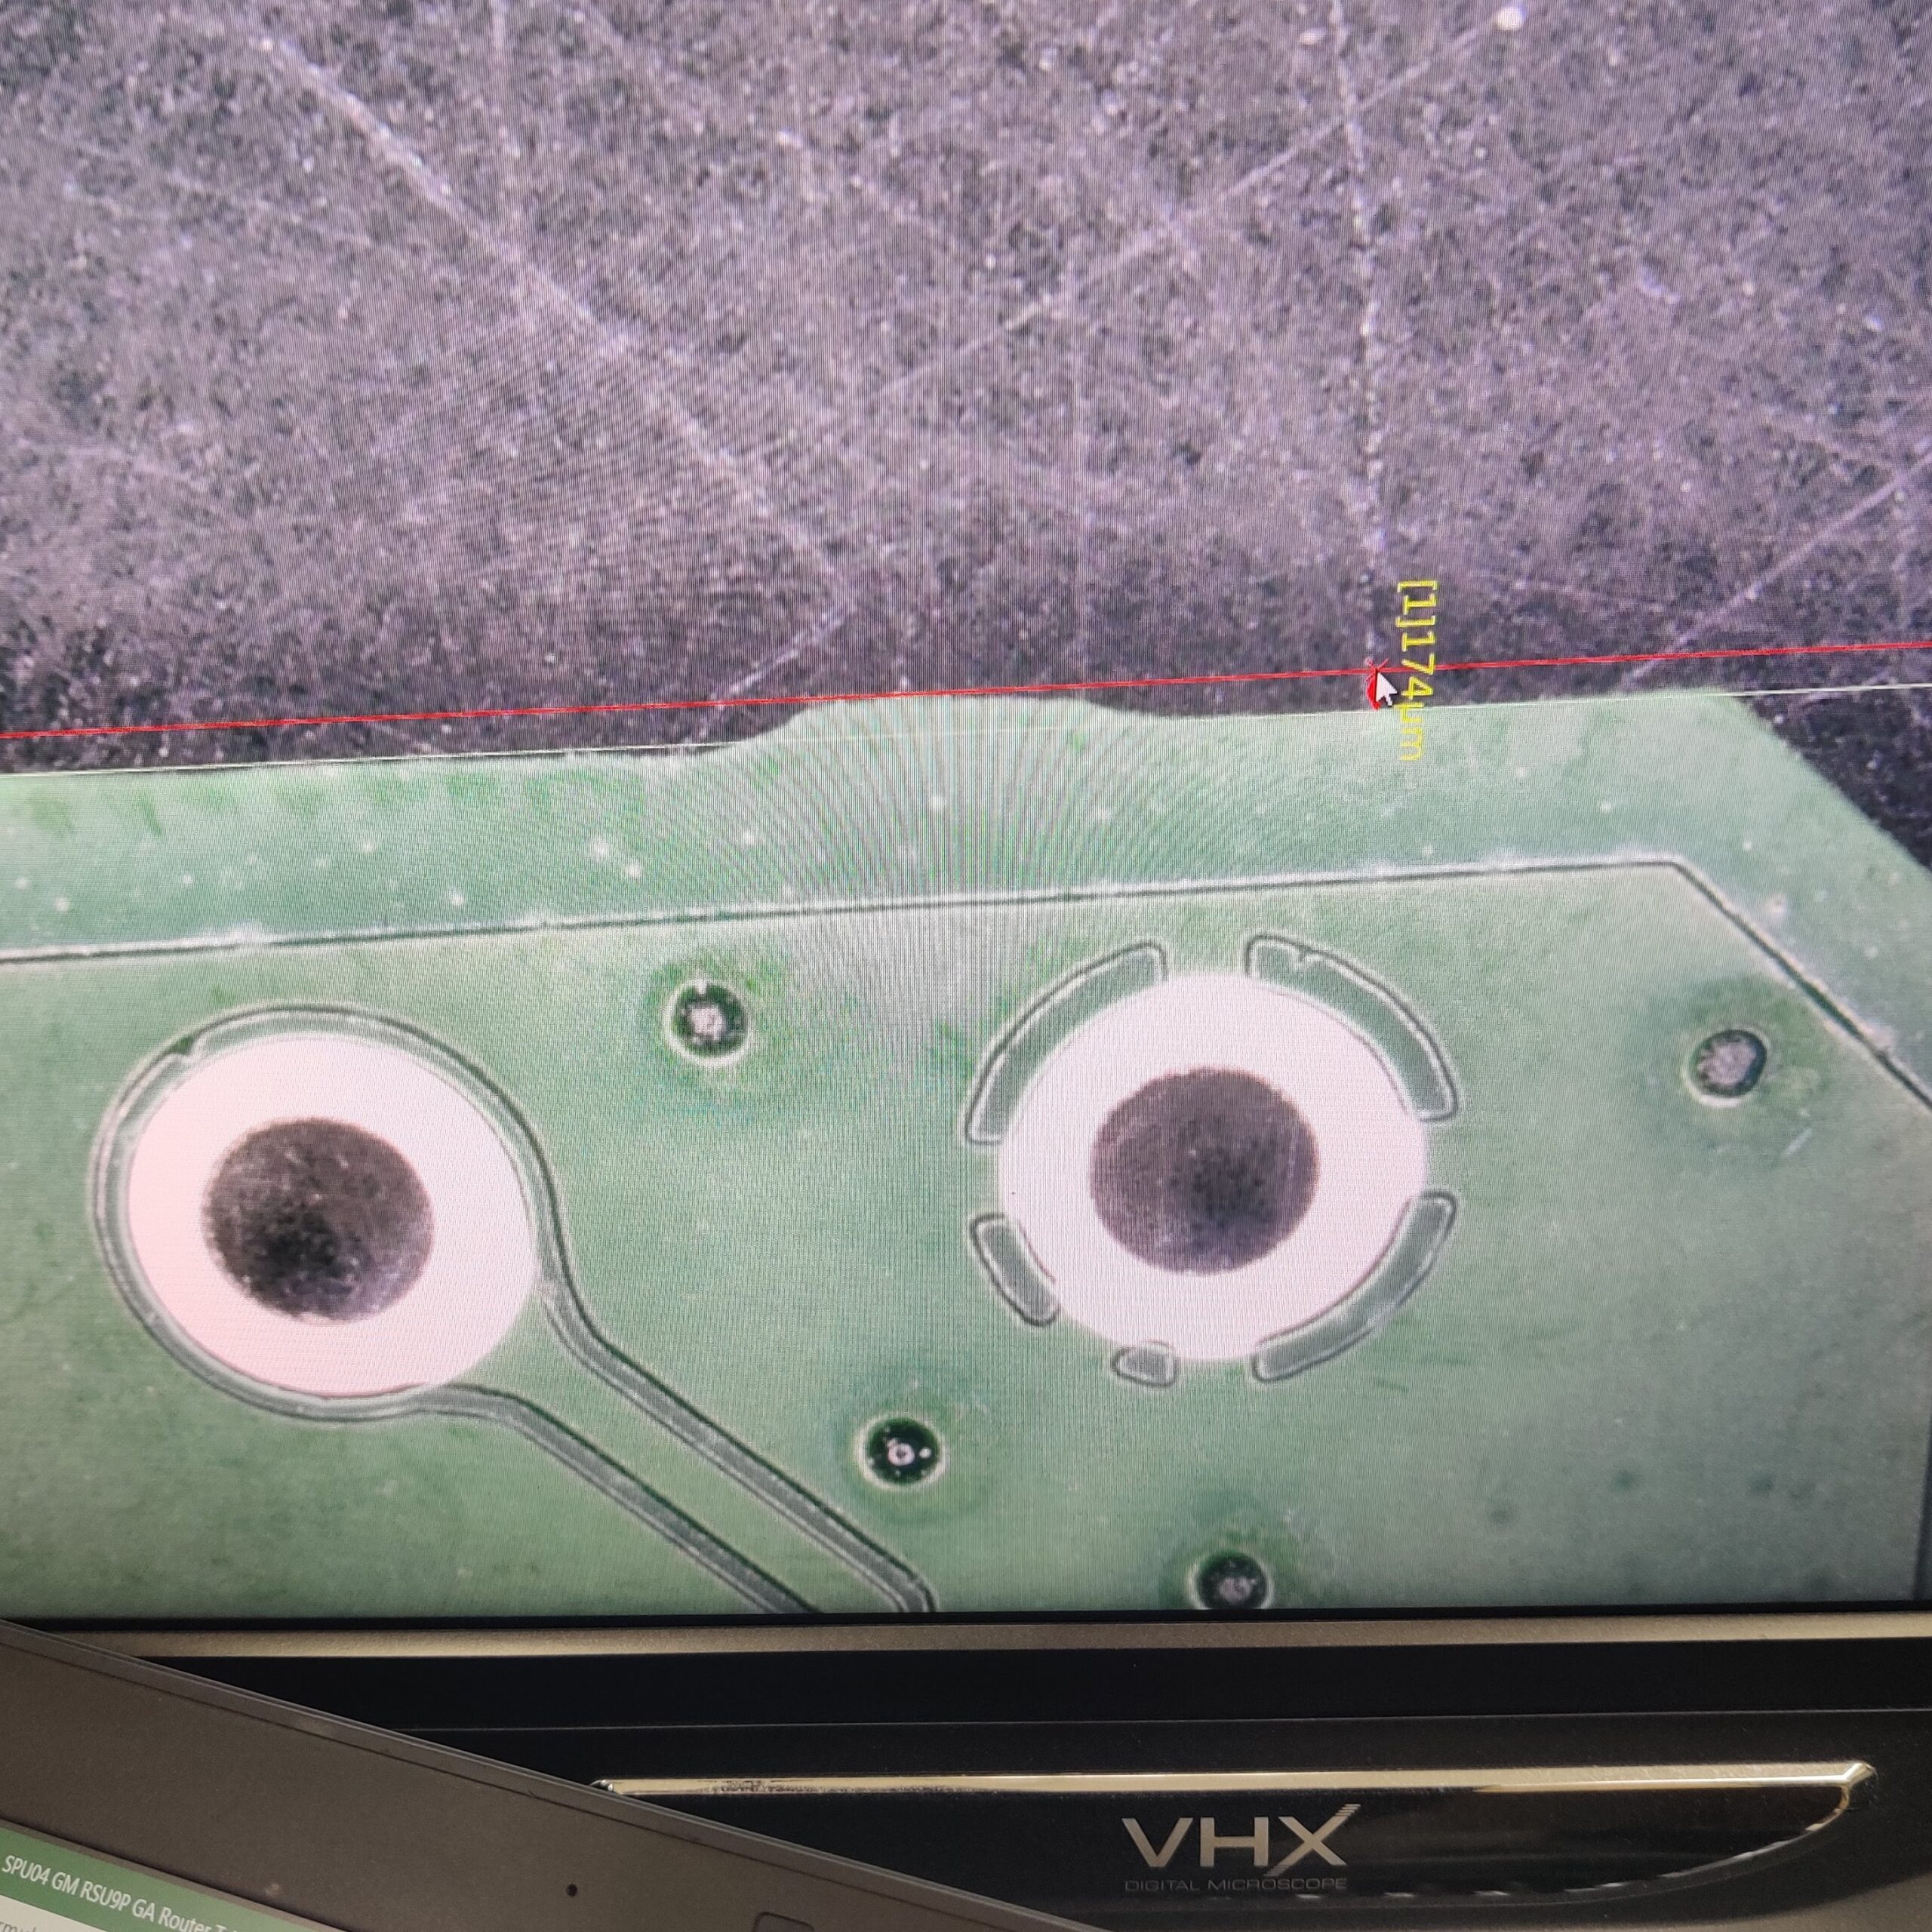
Process Capability (Cpk) and Gage R&R Studies
To ensure accuracy and repeatability over continuous cycles, Statistical Process Control (SPC) was used to validate each process:
- A minimum of 30, continuous samples were produced, measured, and recorded.
- Minitab was used to perform complex statistical calculations, verify compliance with standard acceptance criteria, and visualize the data to make evidence-based decisions.
- Results were presented for approval to advance project to the next phase.
Sensitivity Analysis
Often times, it required extensive troubleshooting and iteration to achieve the desired Cpk and GRR results. Root cause analysis and sensitivity analysis were used to streamline this process.
- The goal was to balance the trade-off between cycle time and quality.
- Variables were controlled and isolated to find the sweet spot.
- Developed intuition and technical understanding of how individual parameters affect the overall system.
Strain Testing
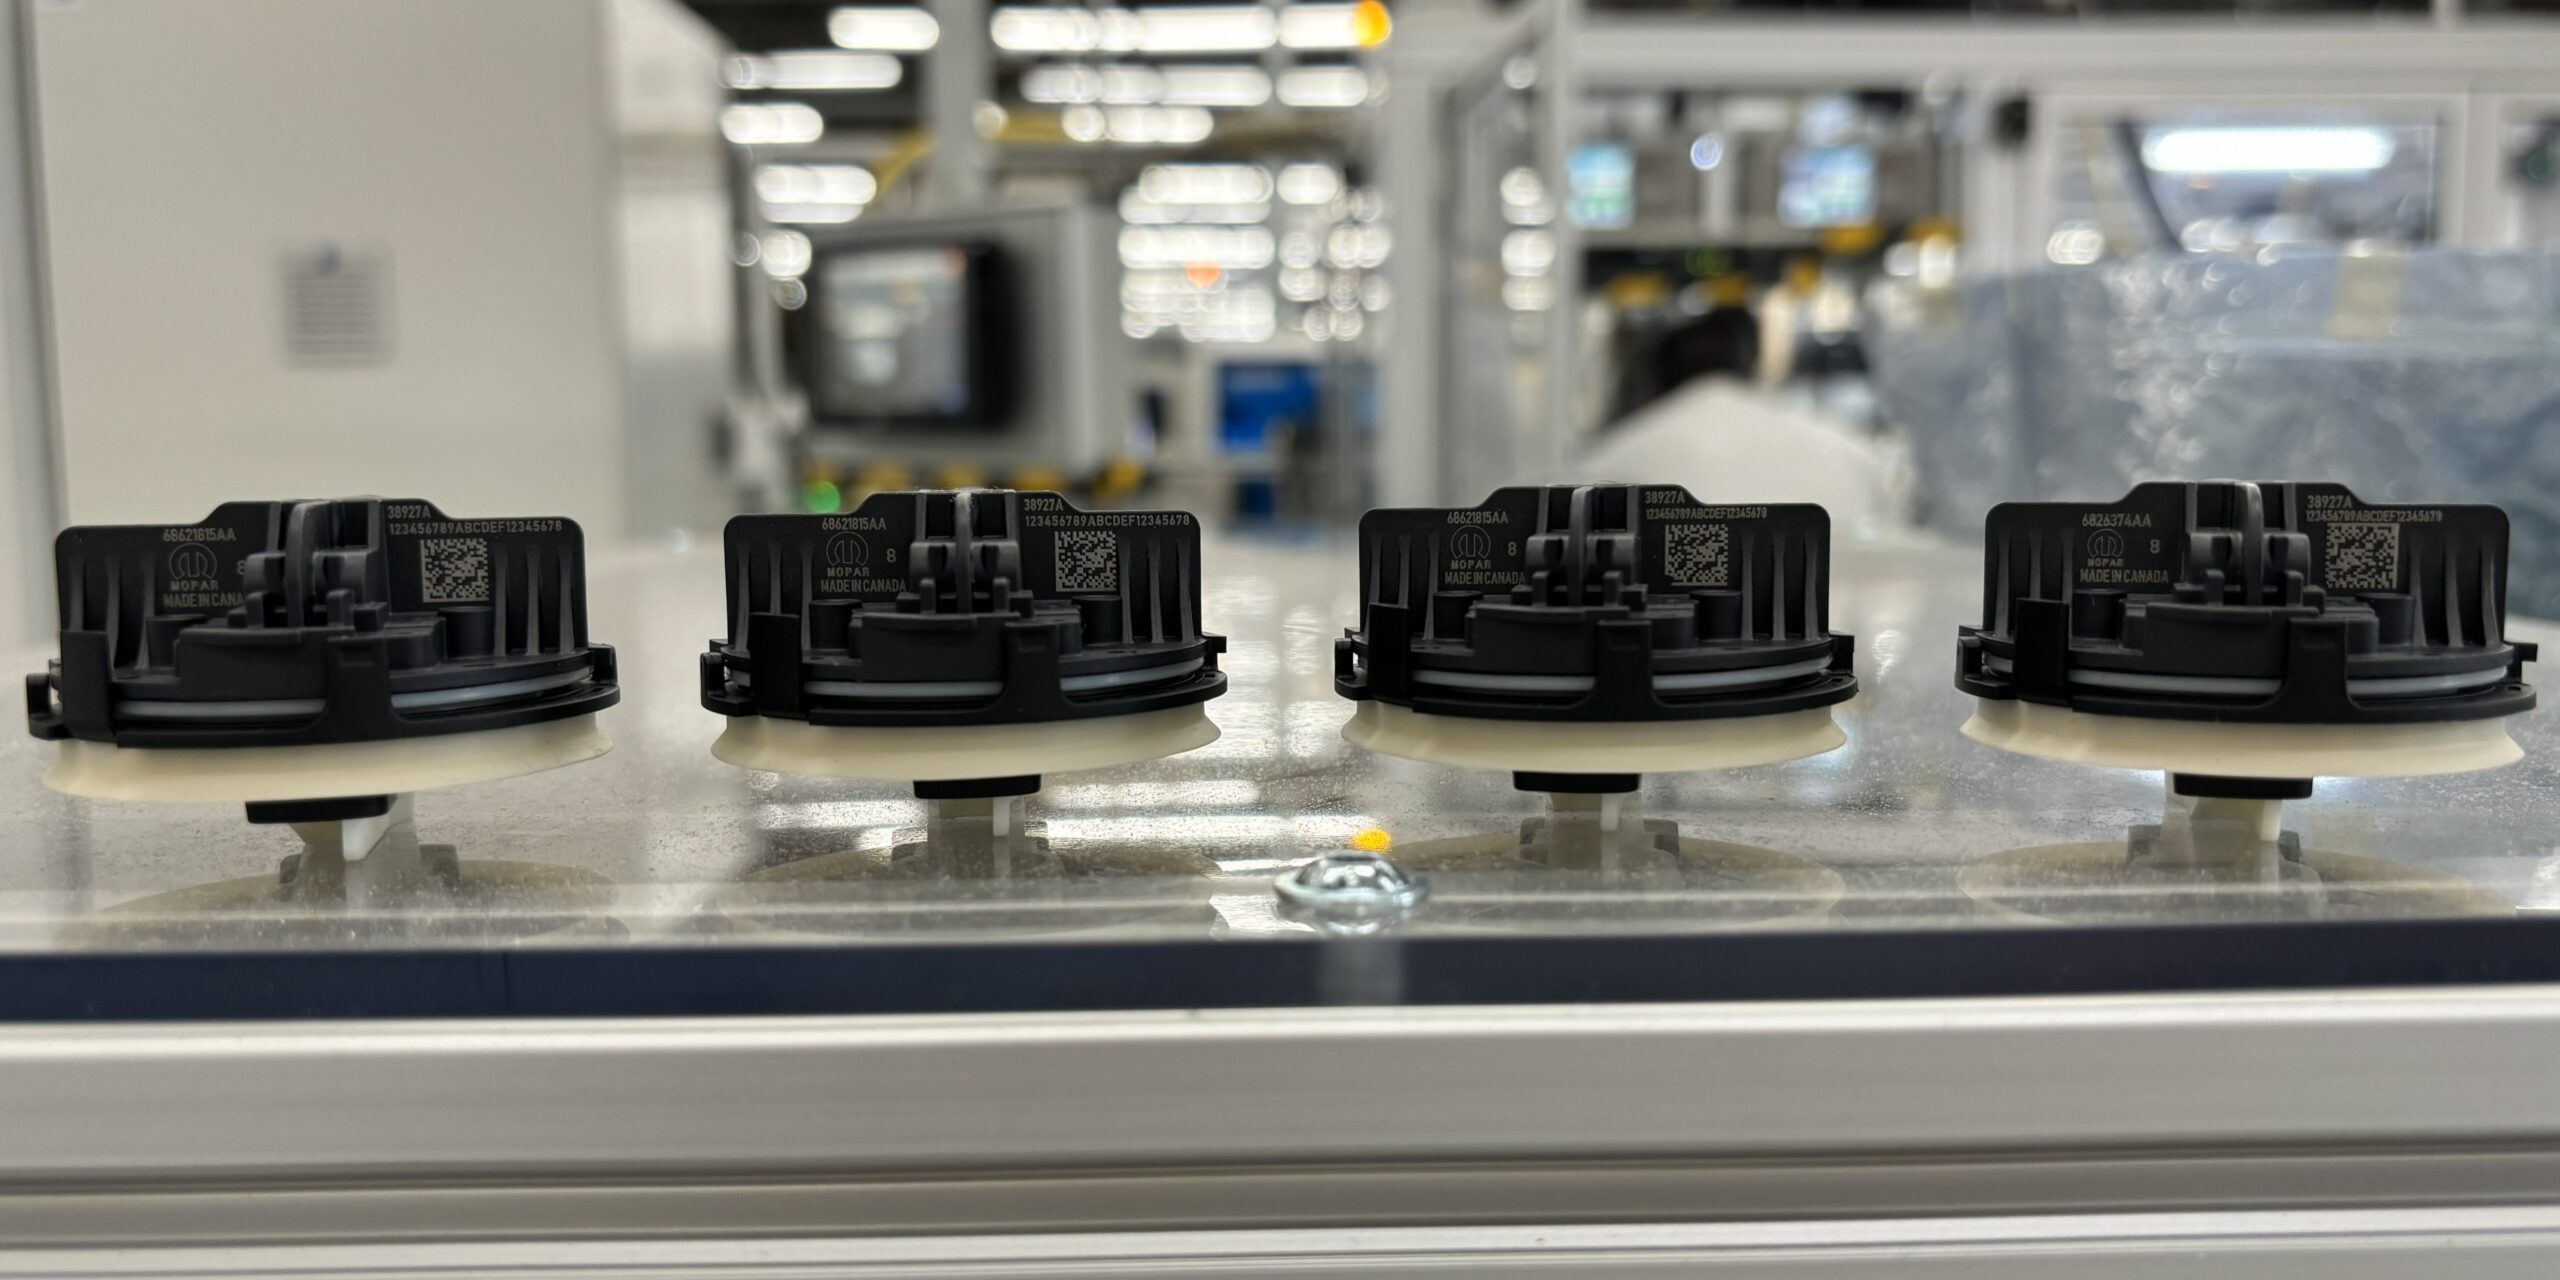
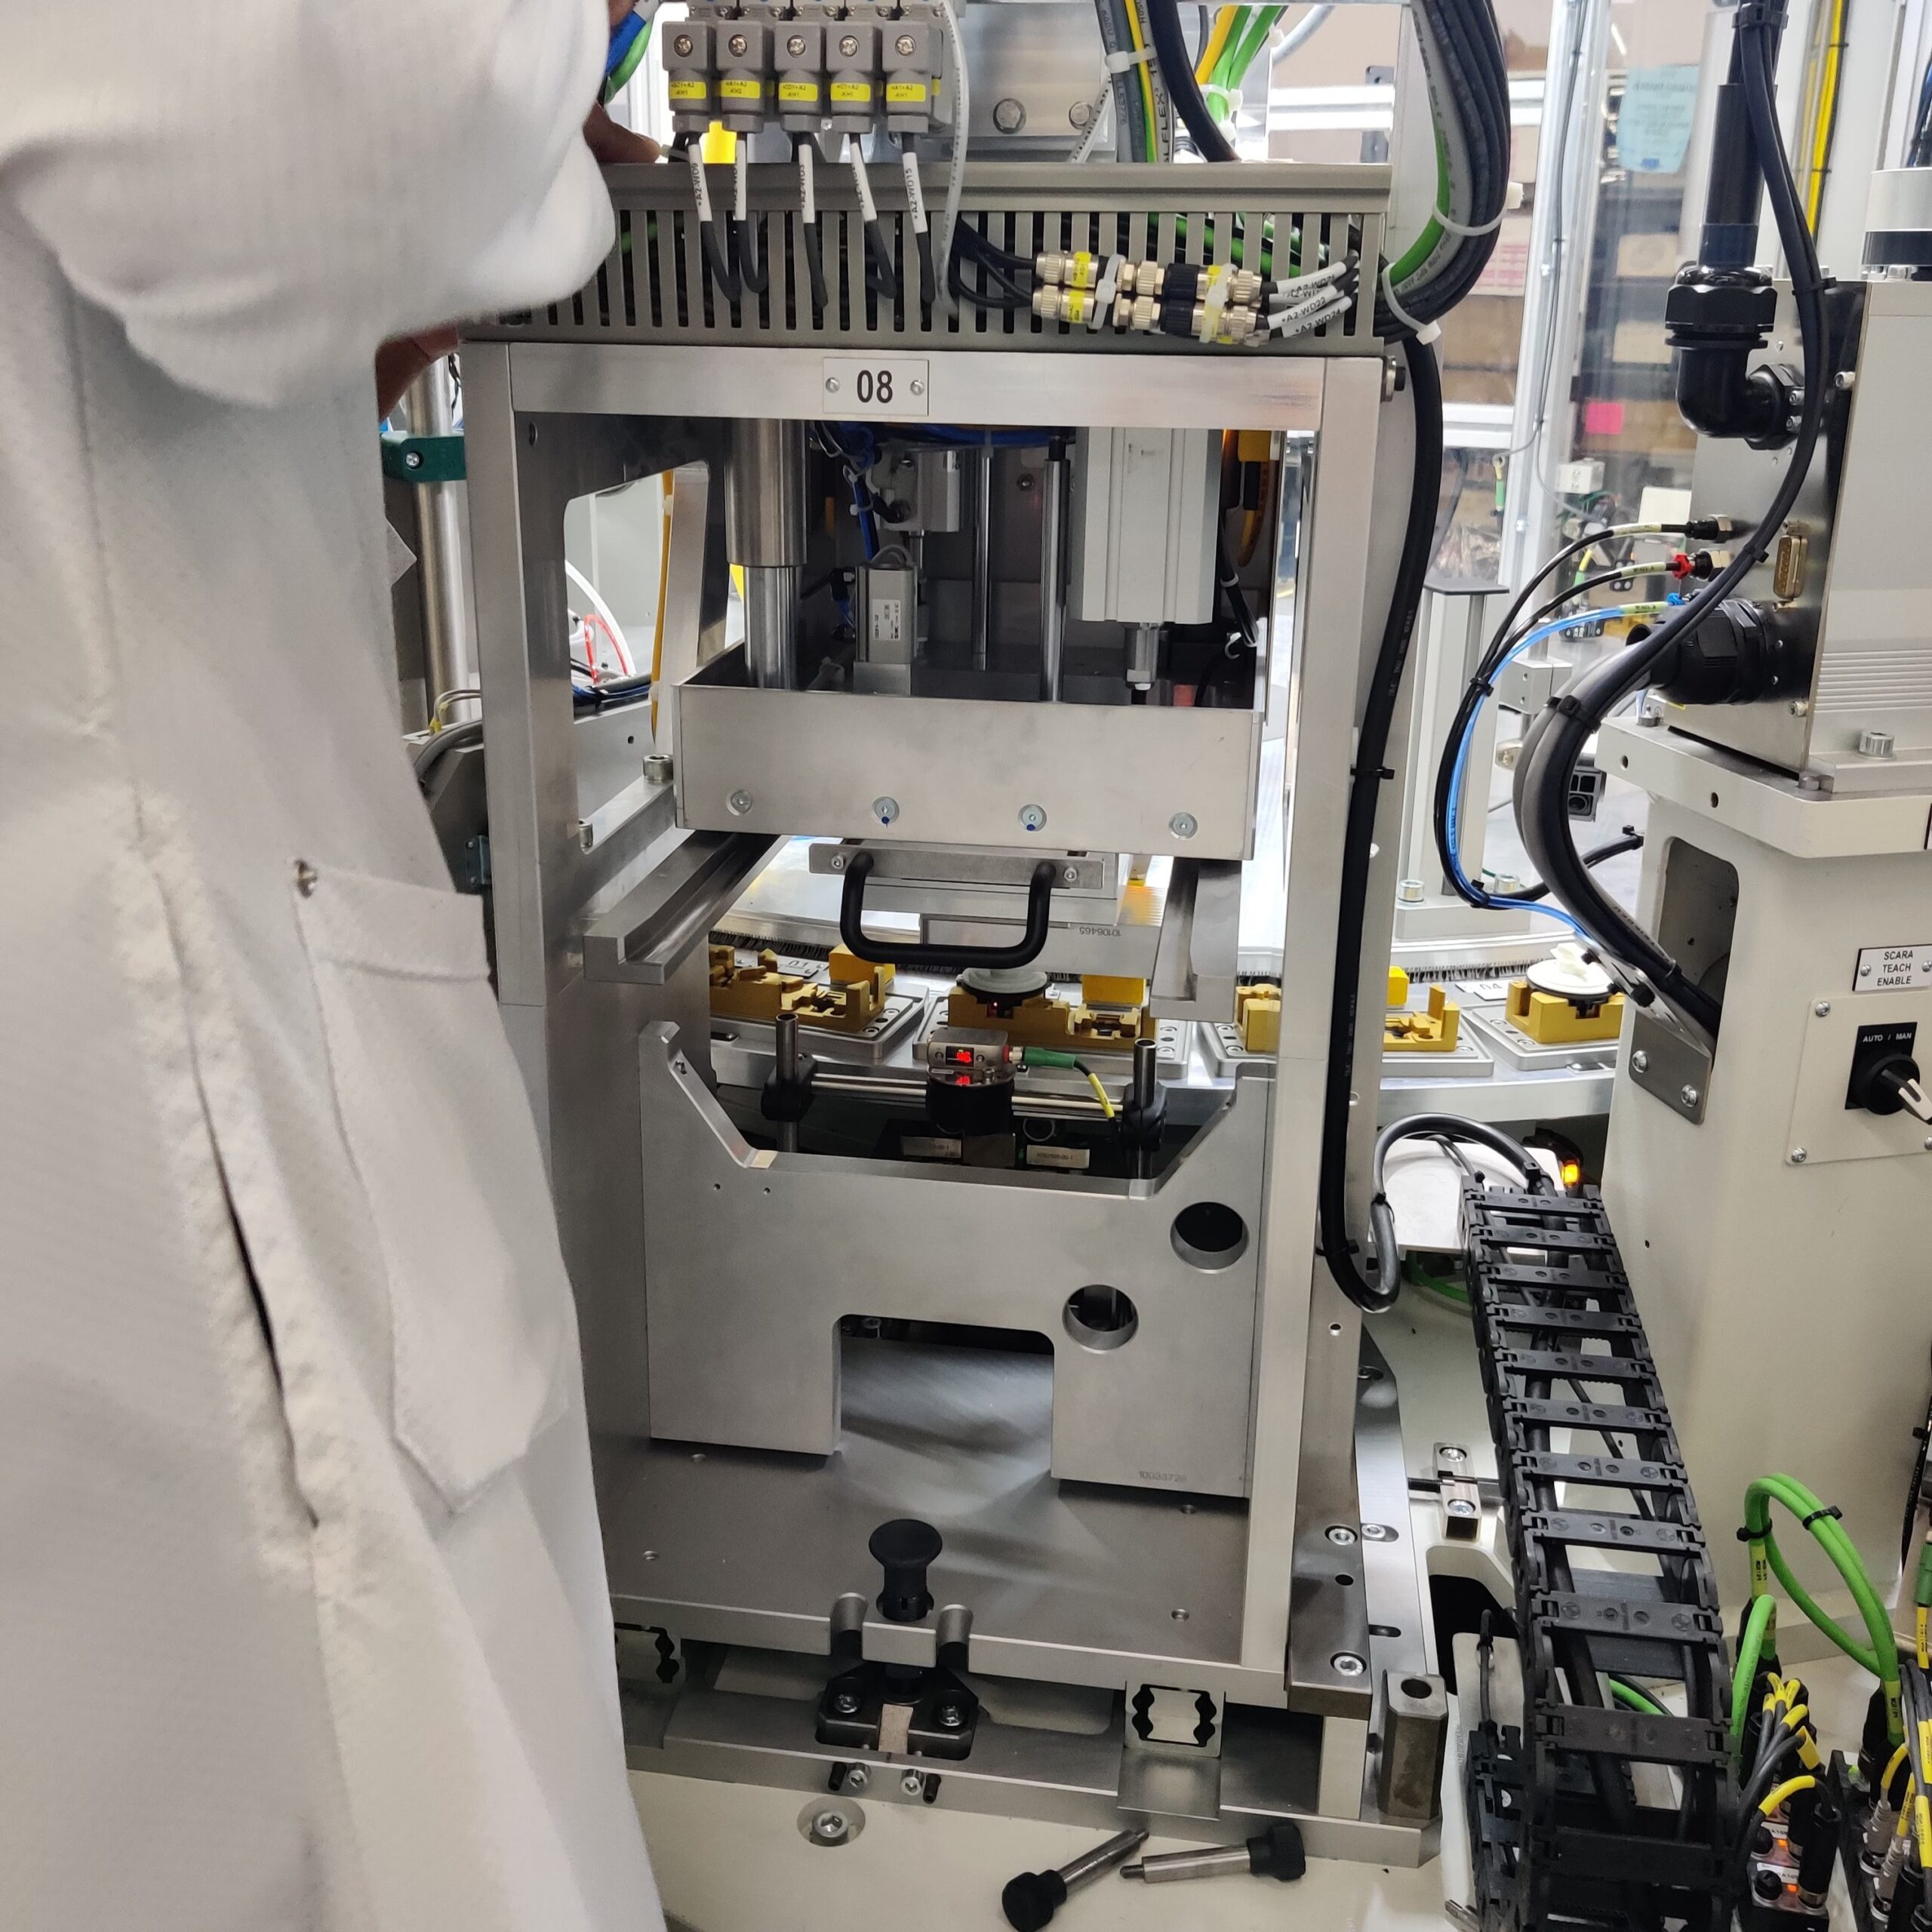
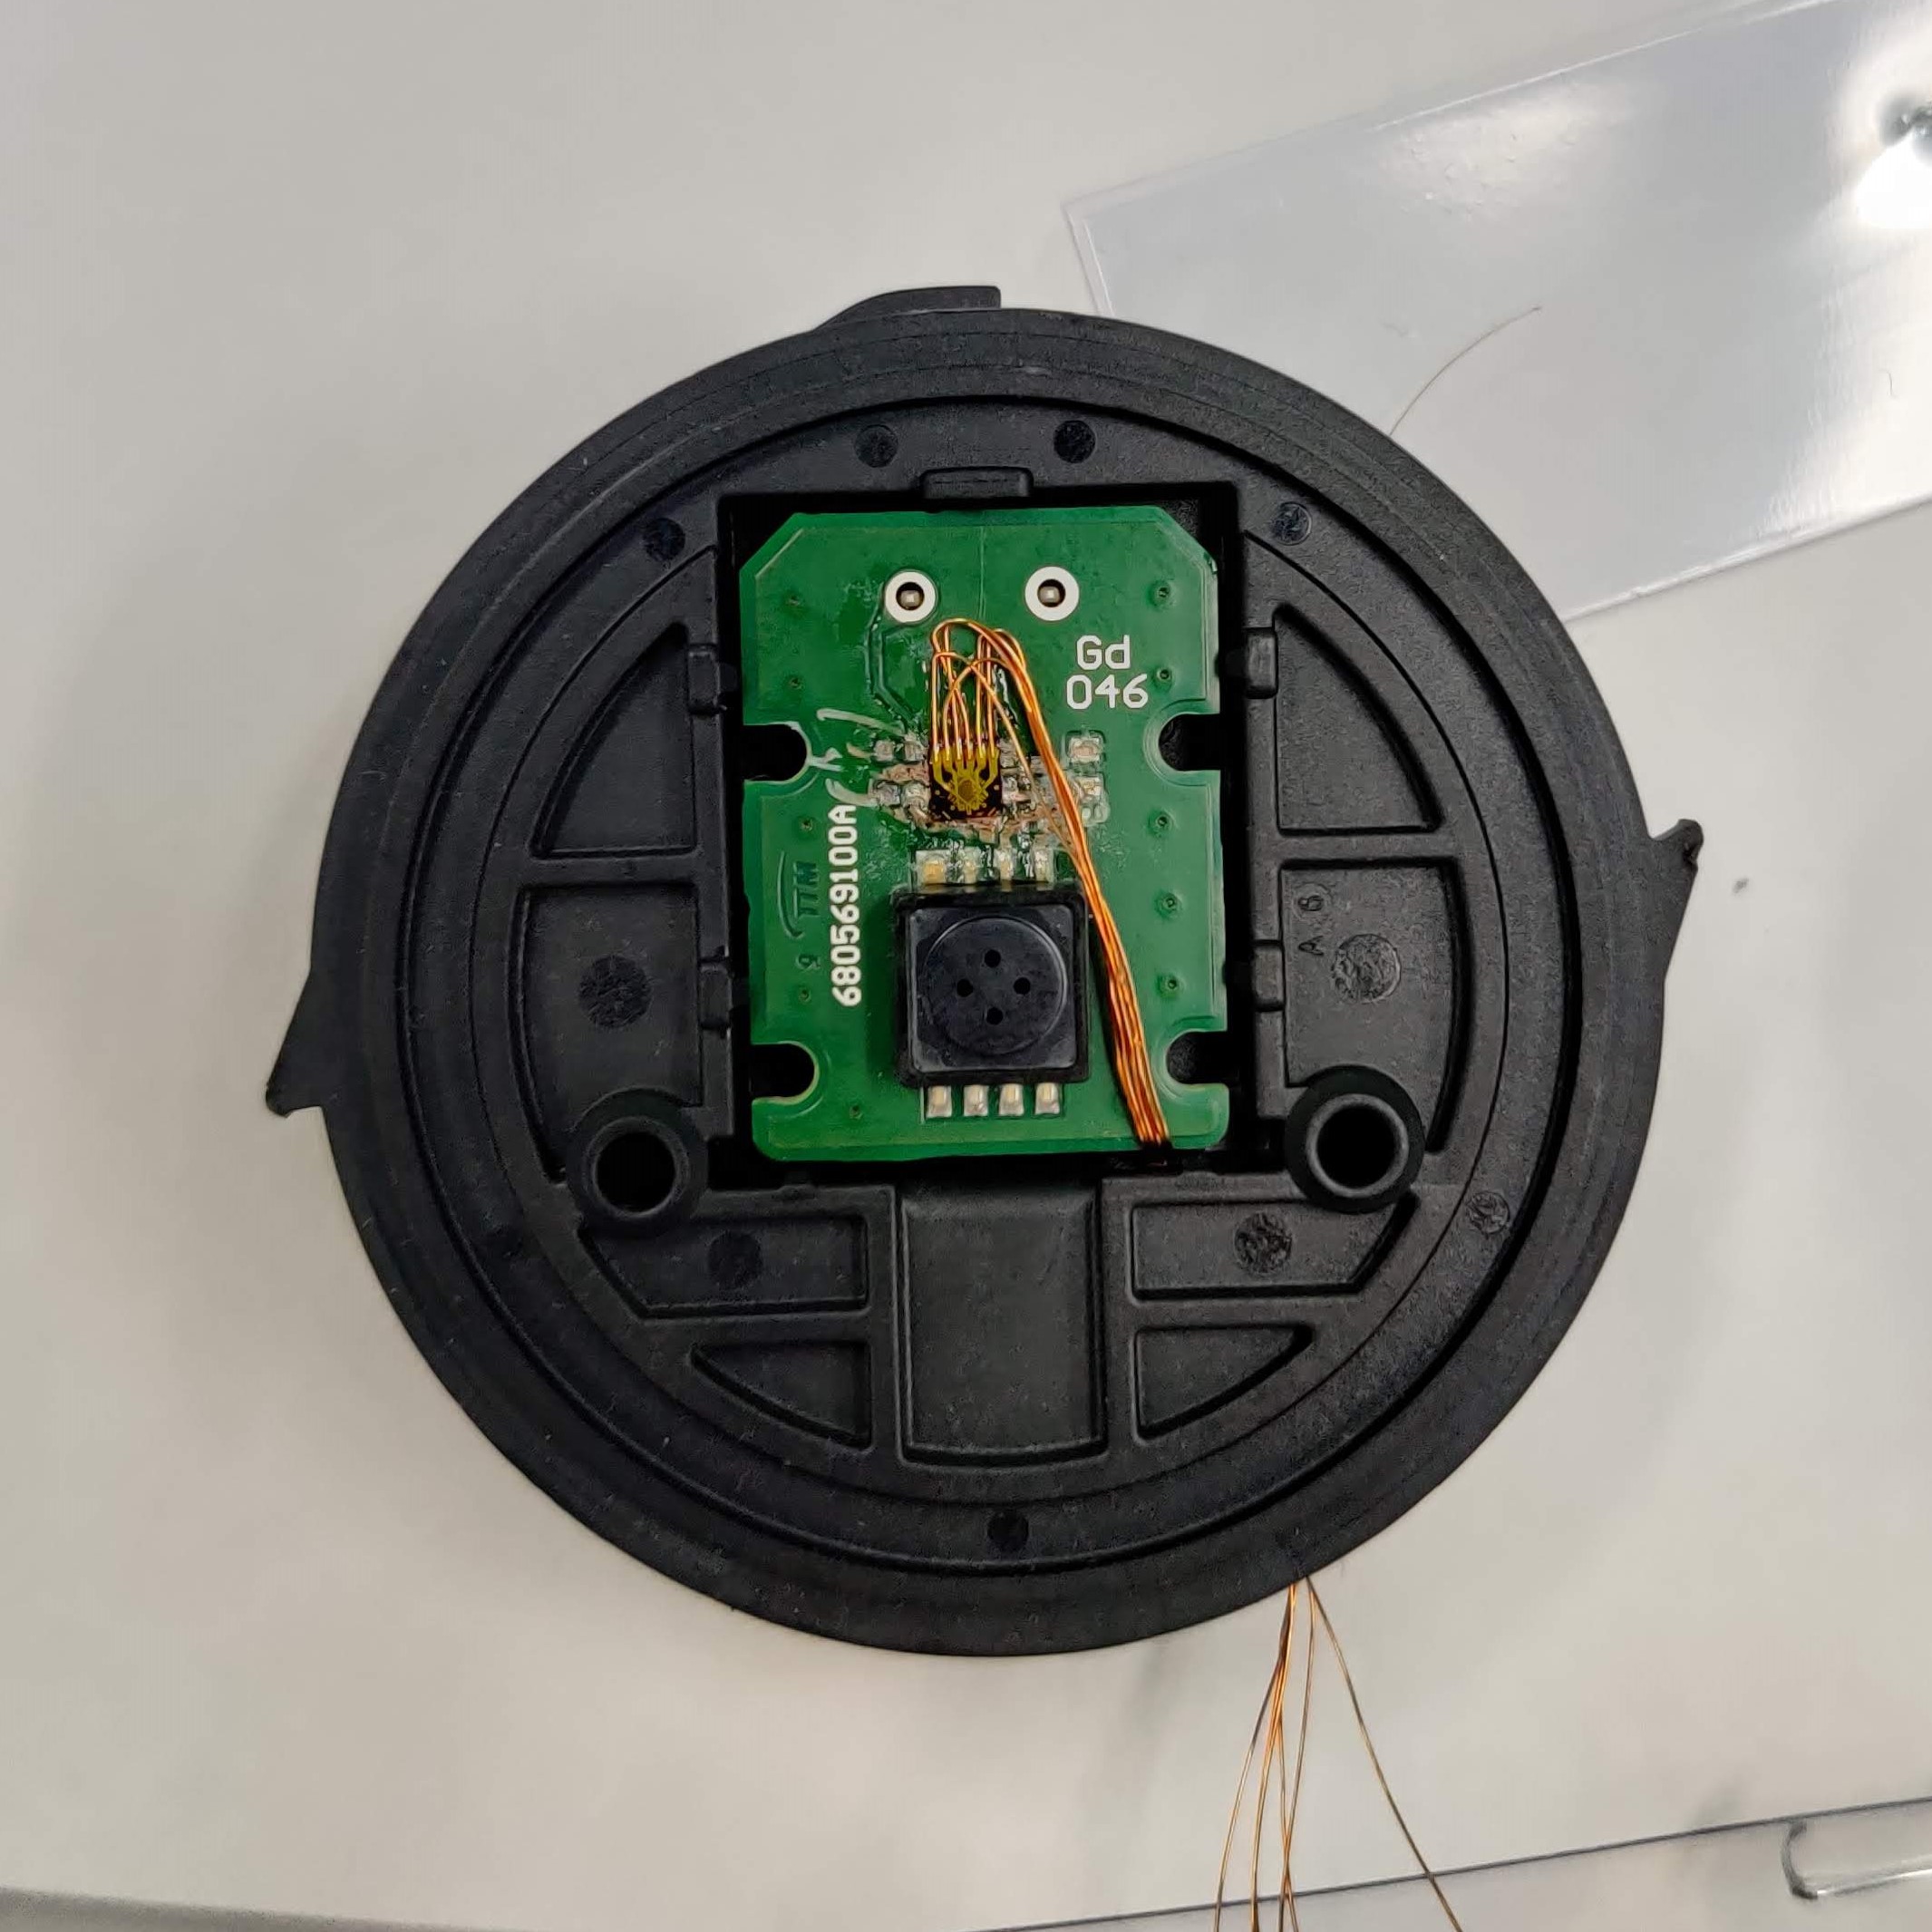
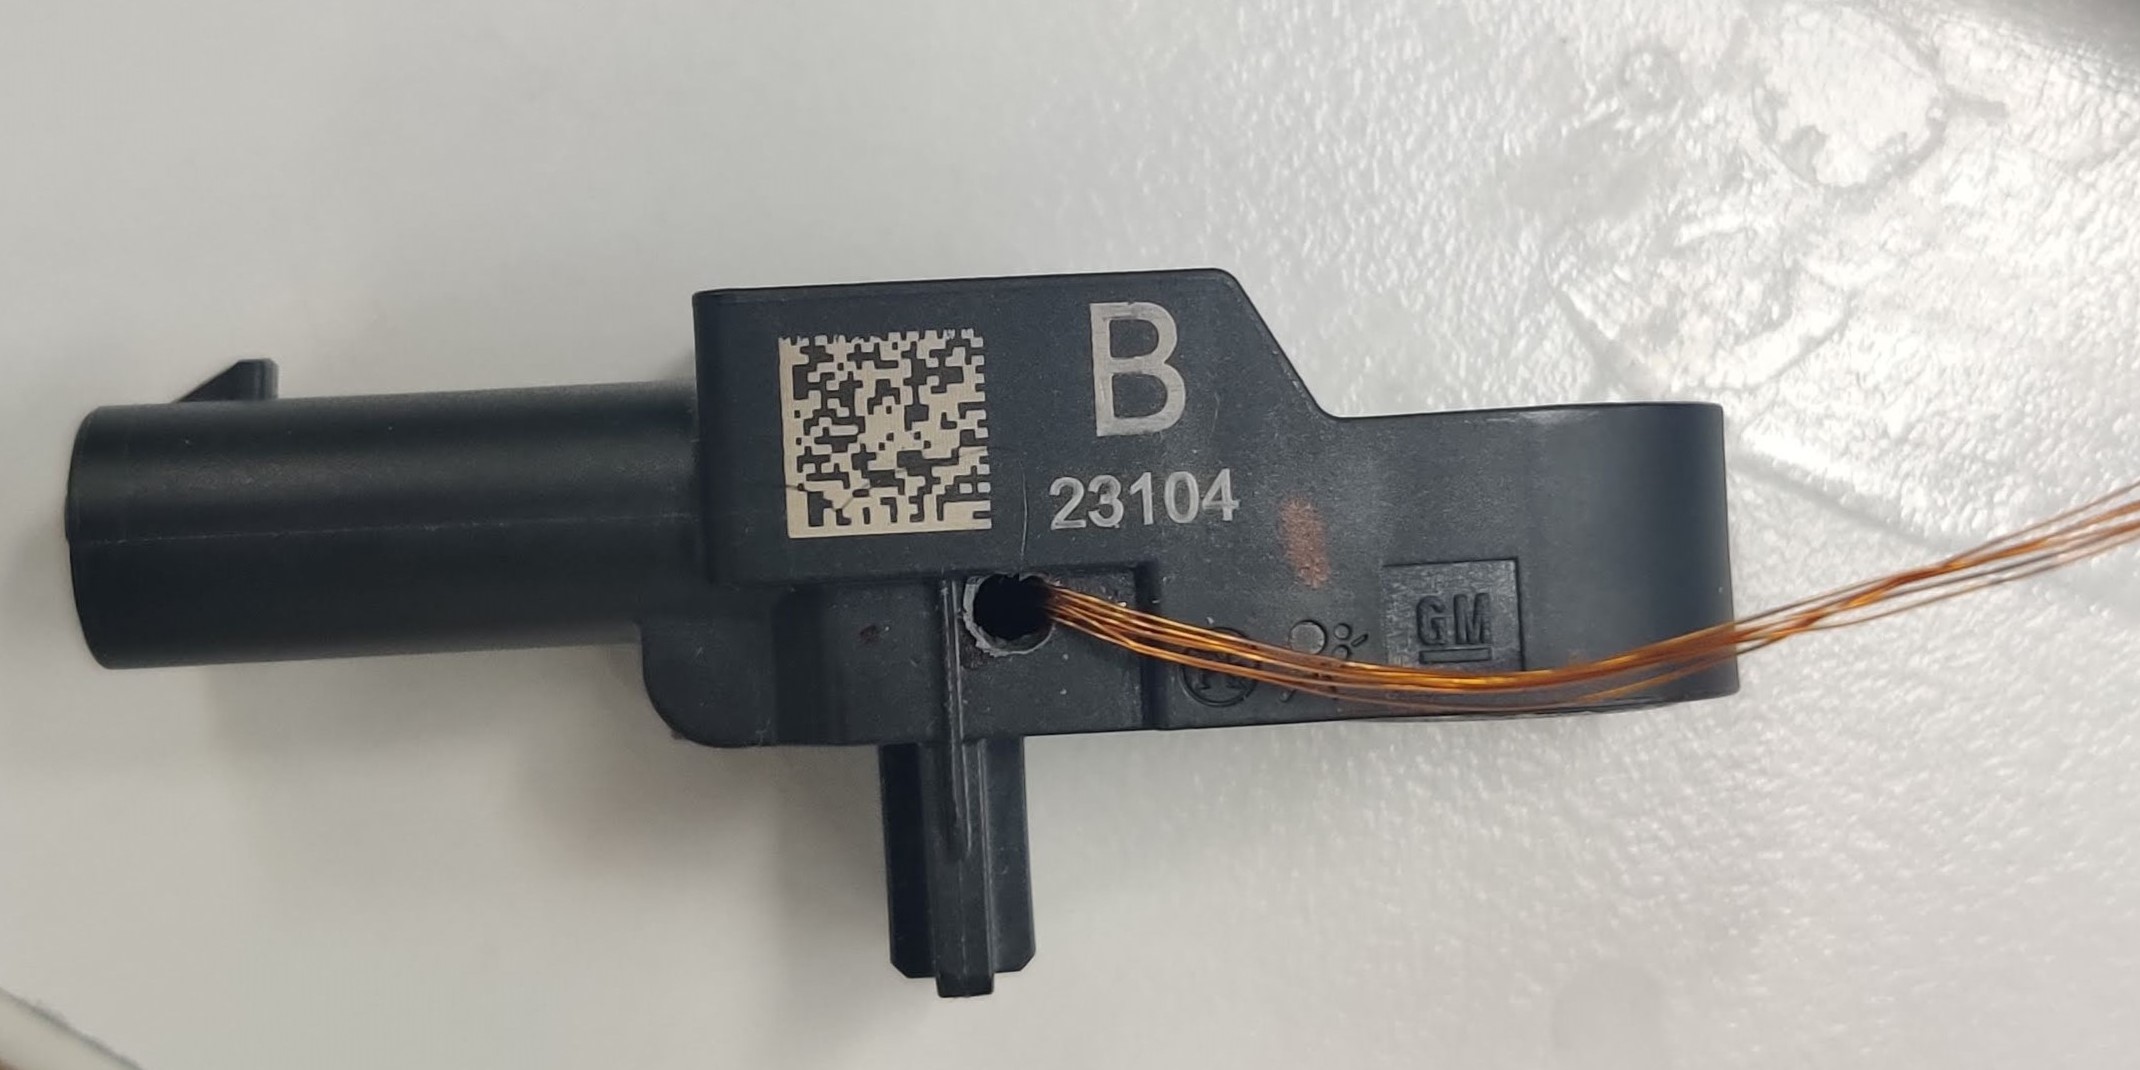
It’s important airbags deploy at the right time in the event of an accident. The sensor components are sensitive and frequently handled by robotic systems.
- I generated 10 strain test reports for 5 processes that involved physical contact with machinery or tooling.
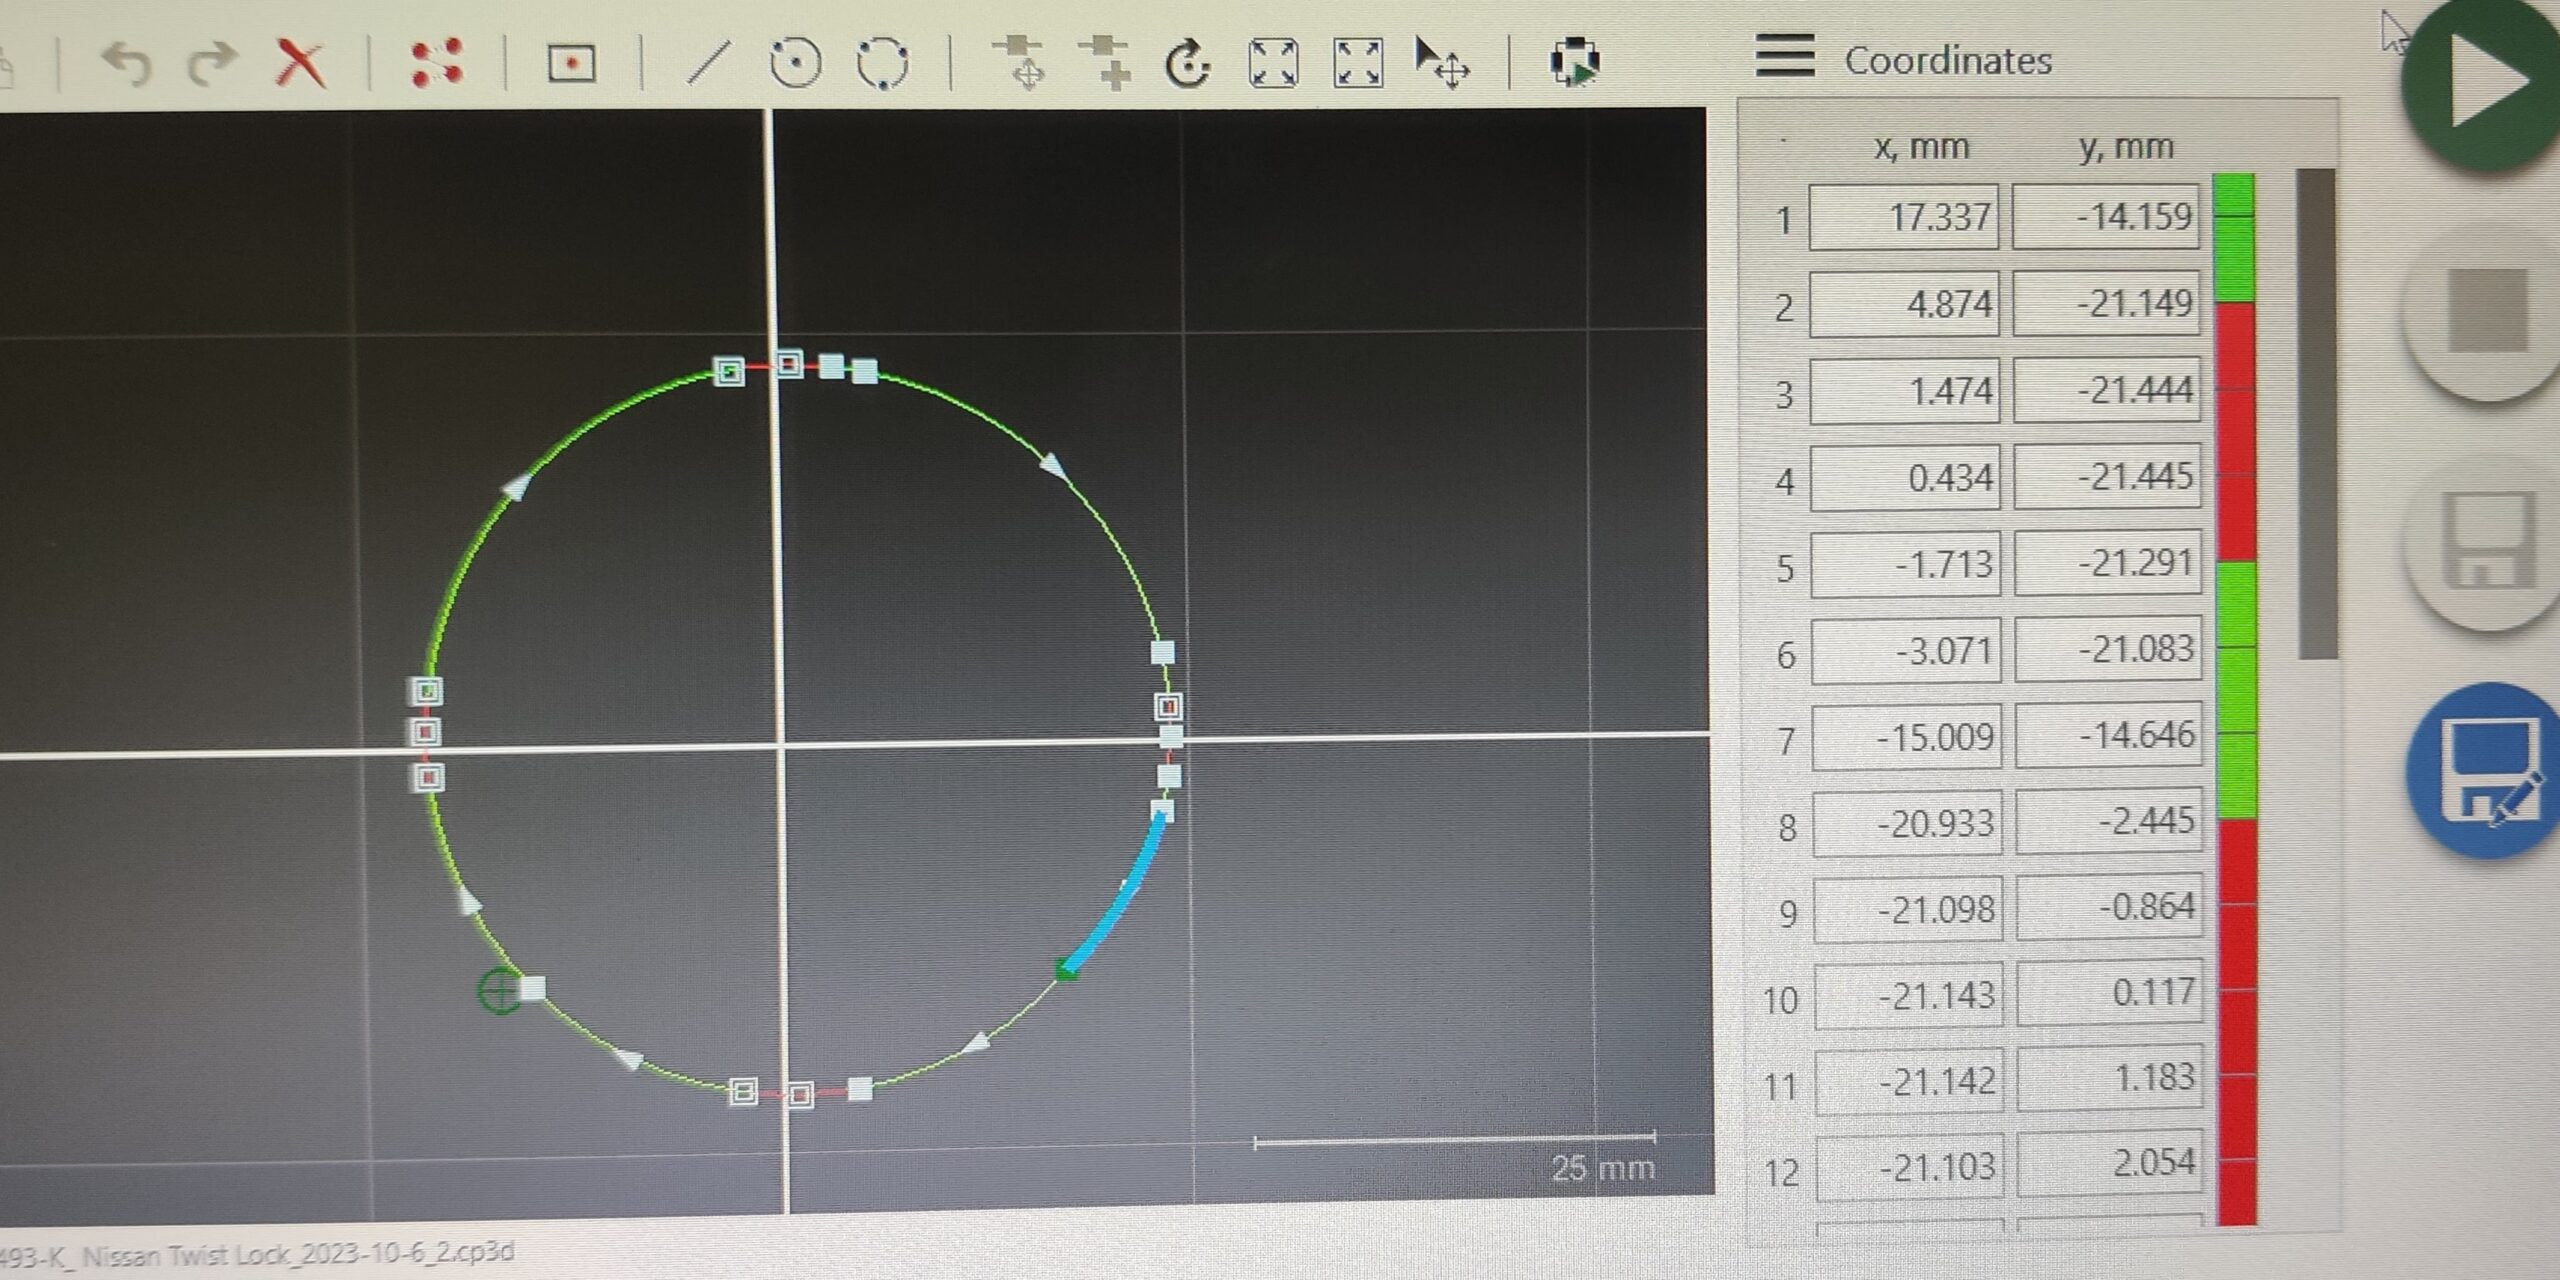
- Strategically applied strain gages in critical locations while overcoming spatial constraints from moving equipment (pinched wires, tight spaces).
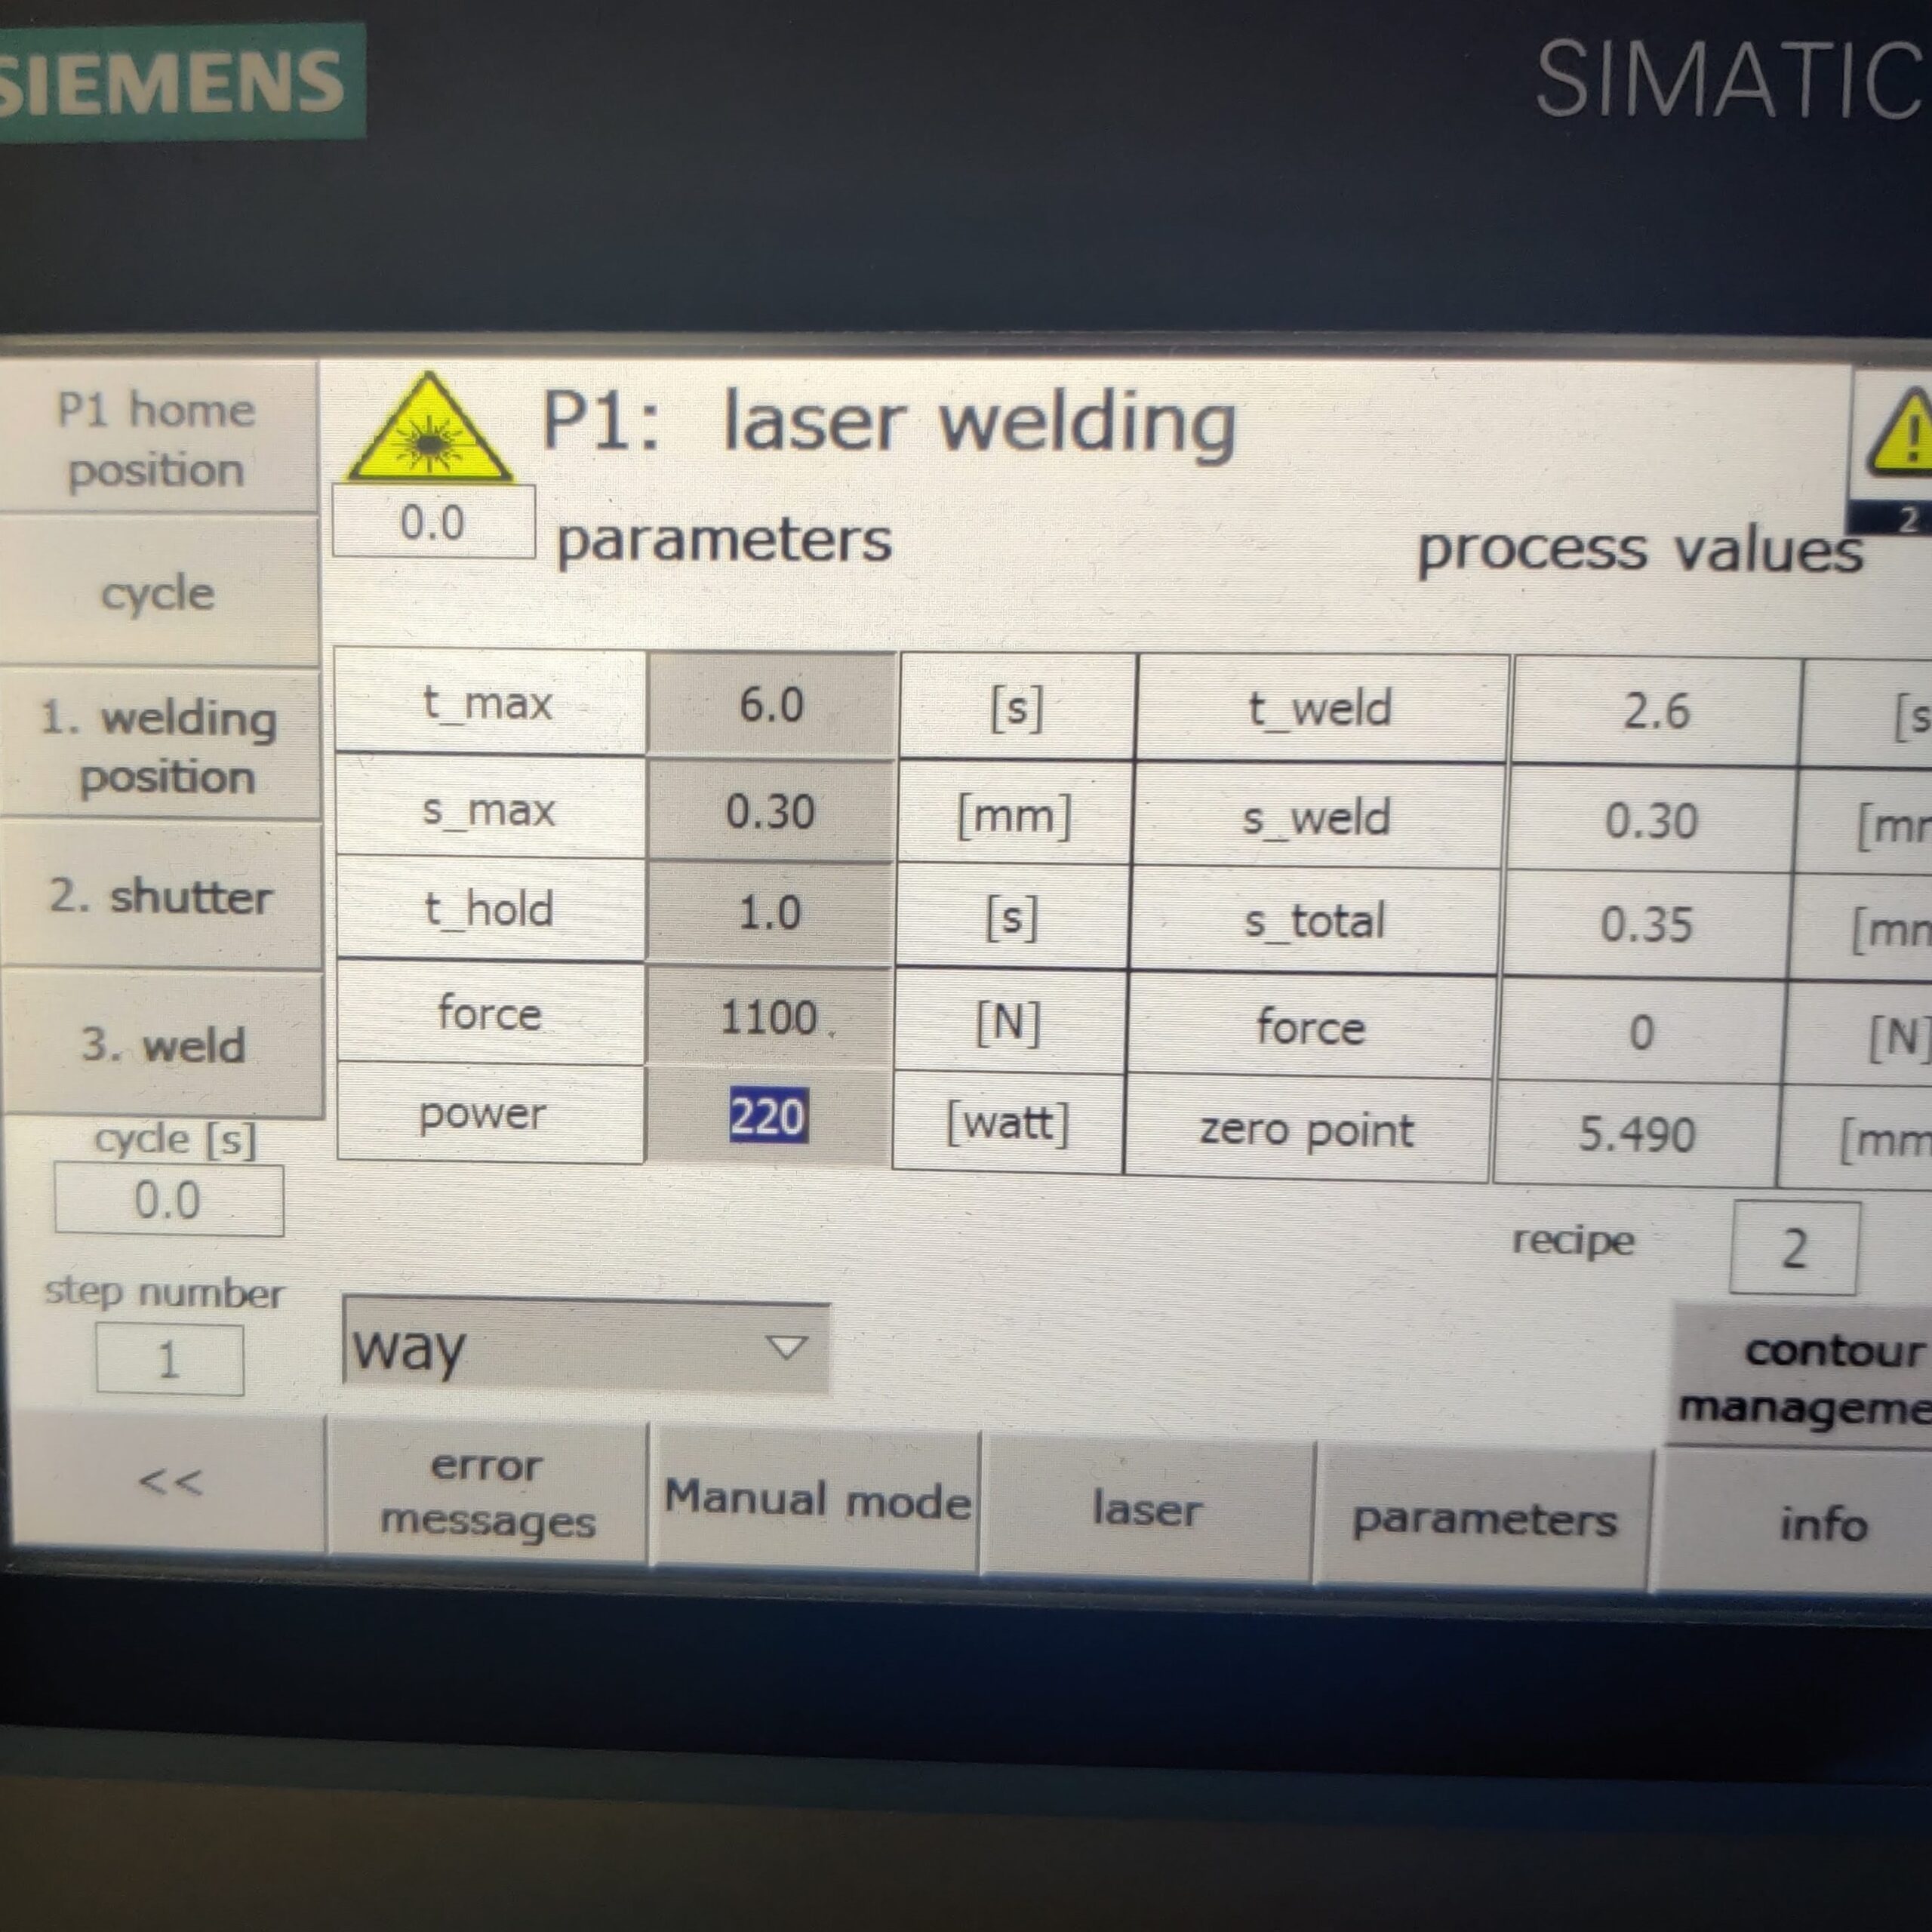
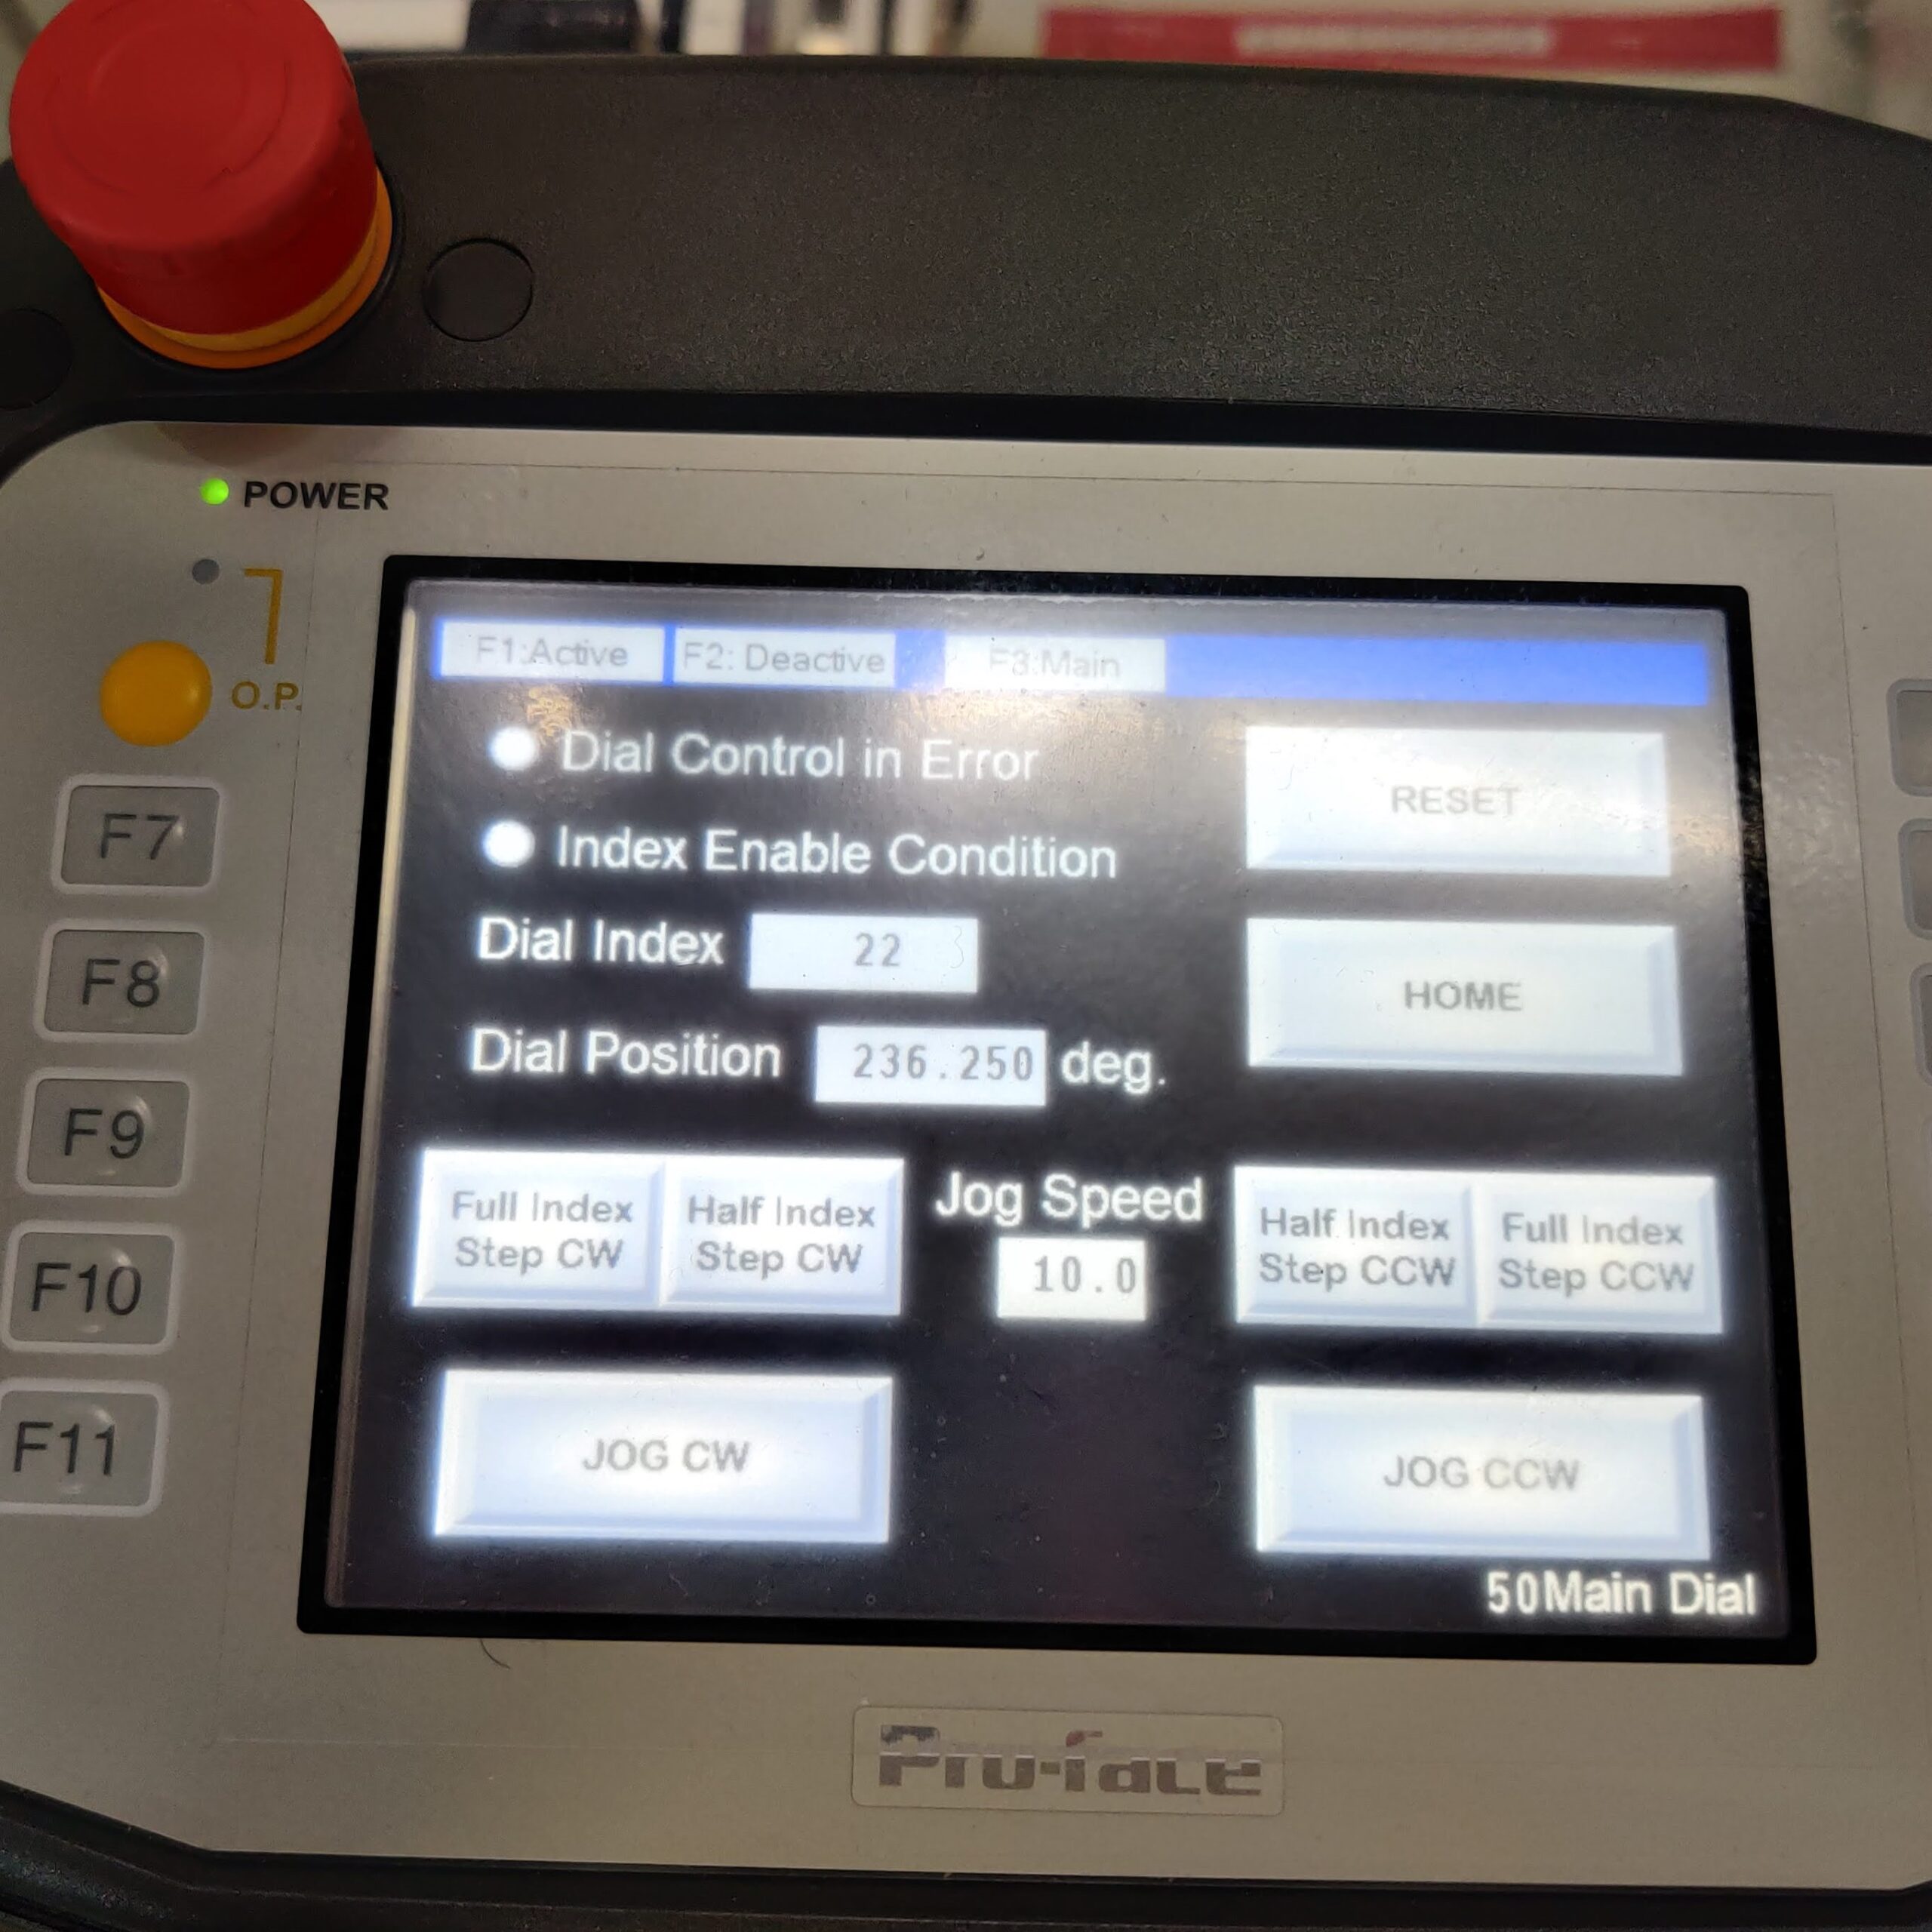
- Learned to interface with PLC and HMI for manual mode access.
Run-At-Rate Capacity Verification
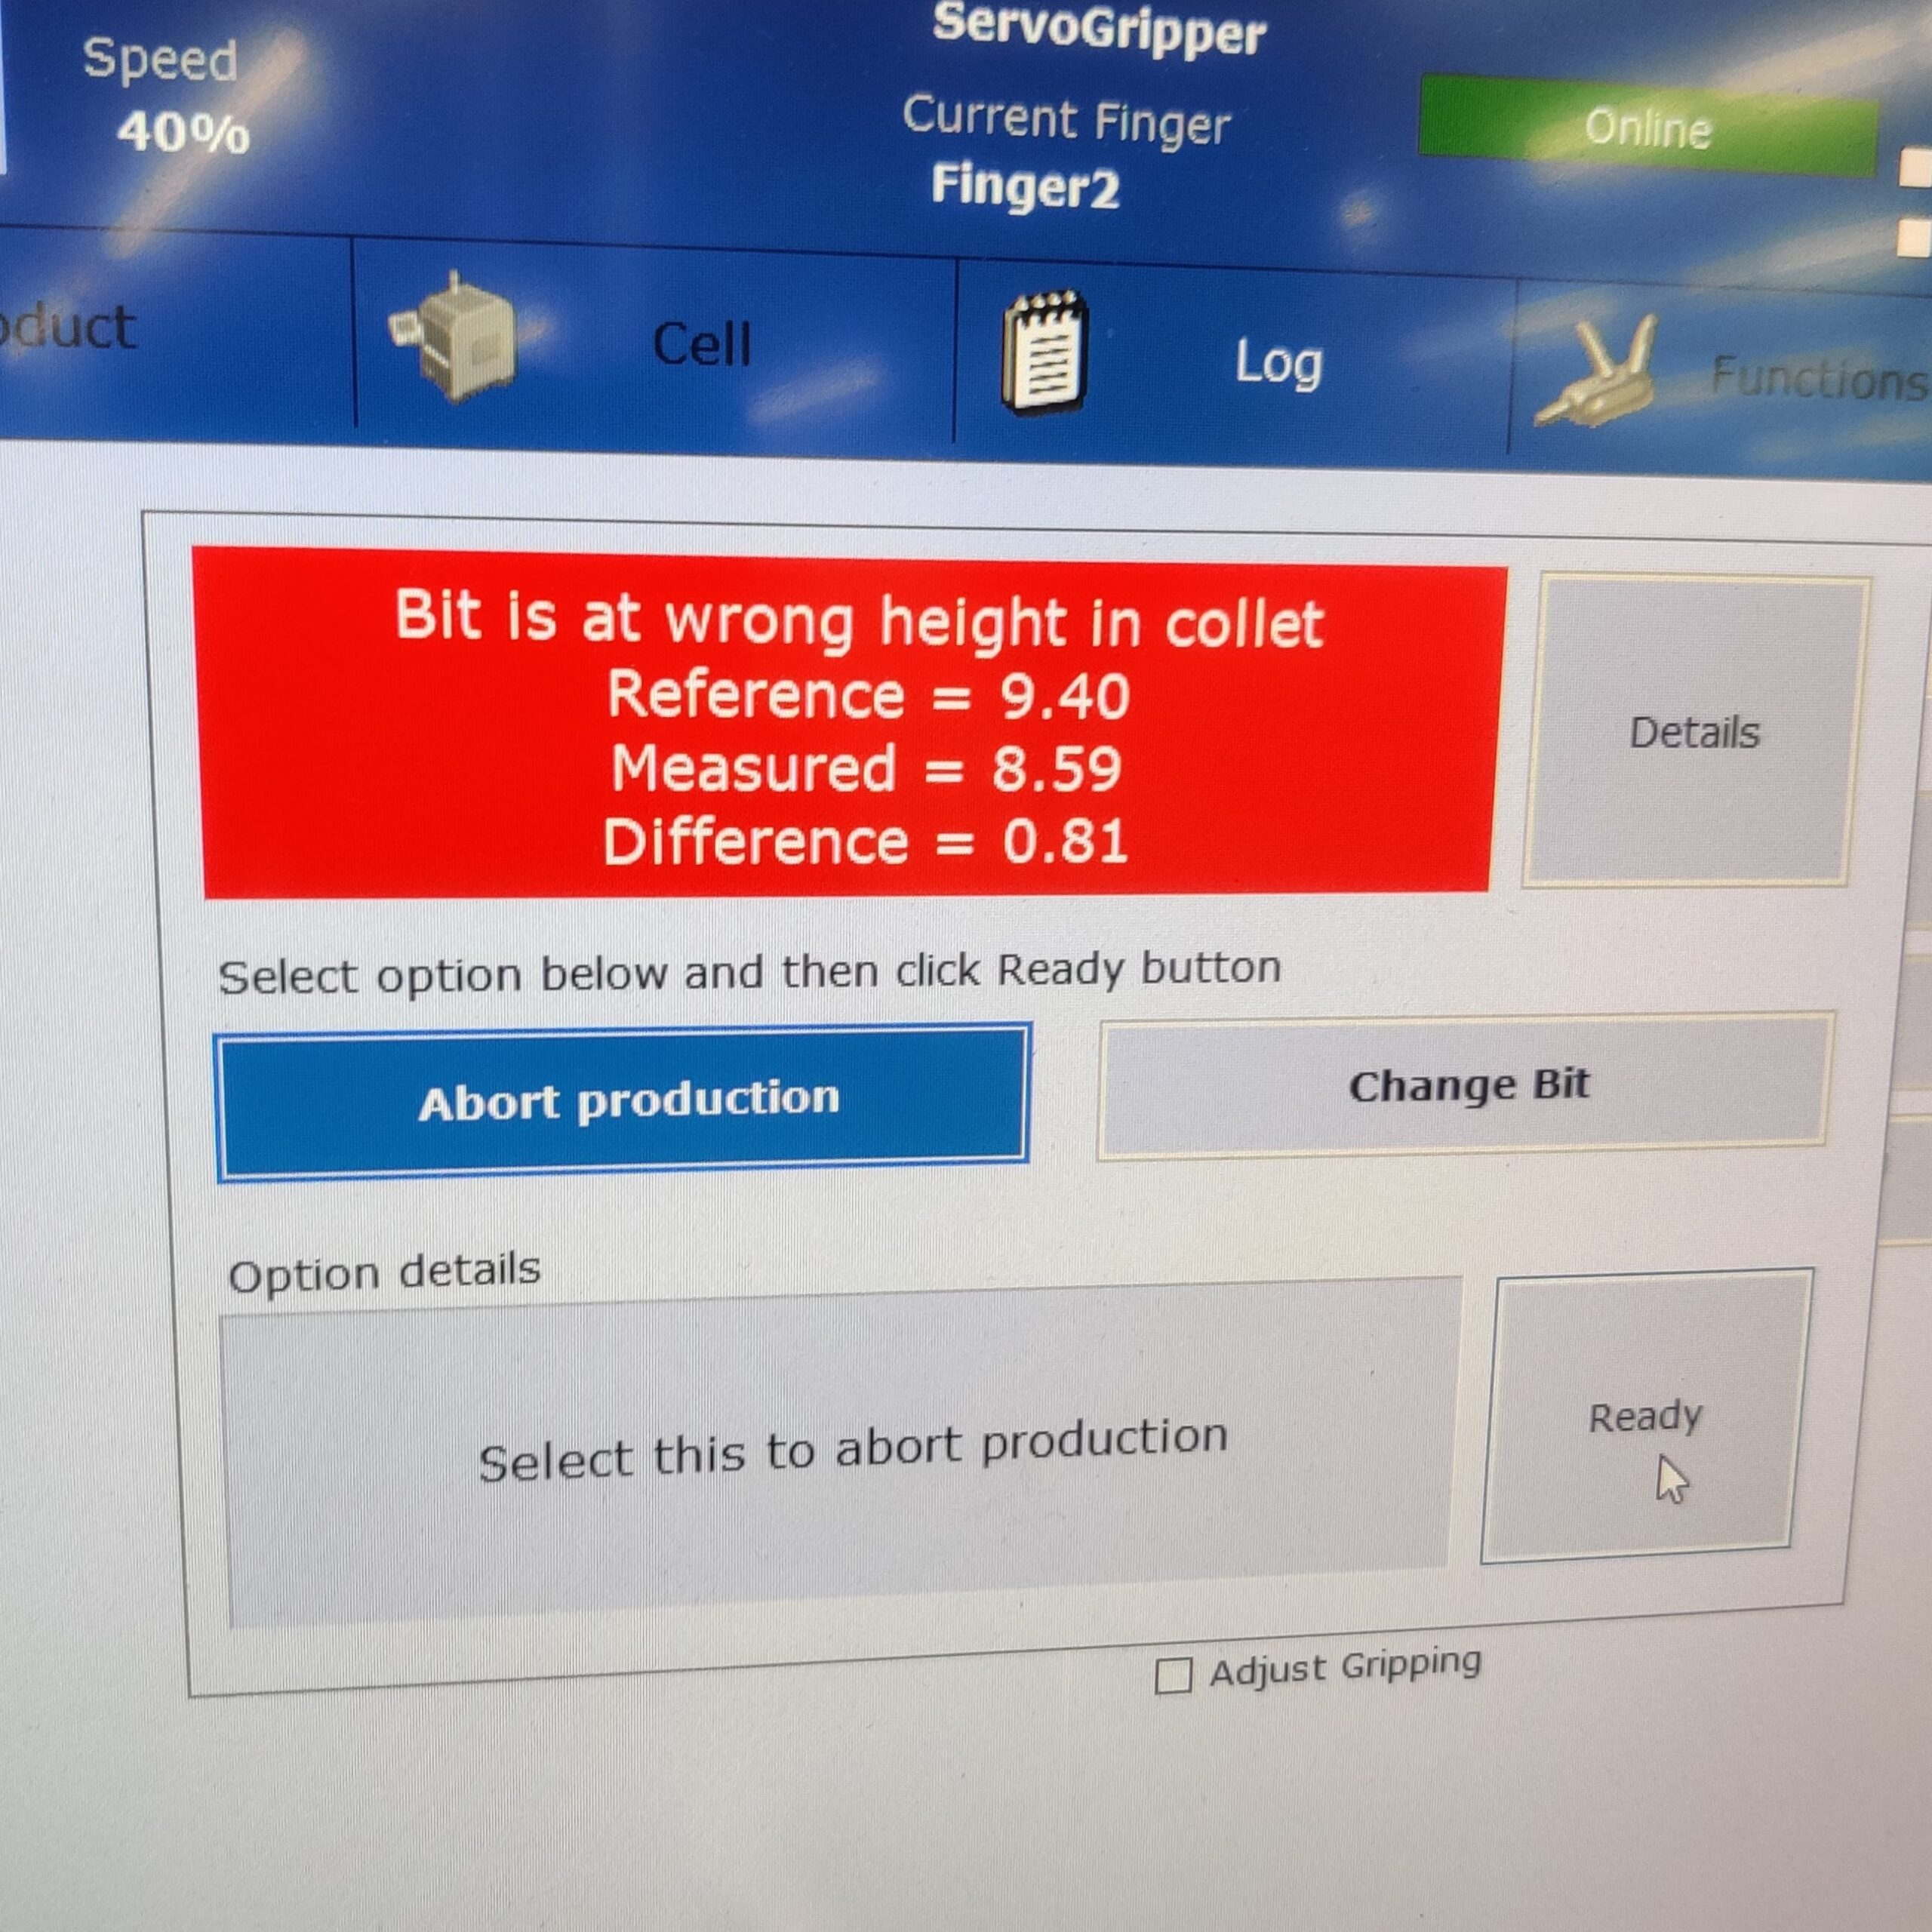
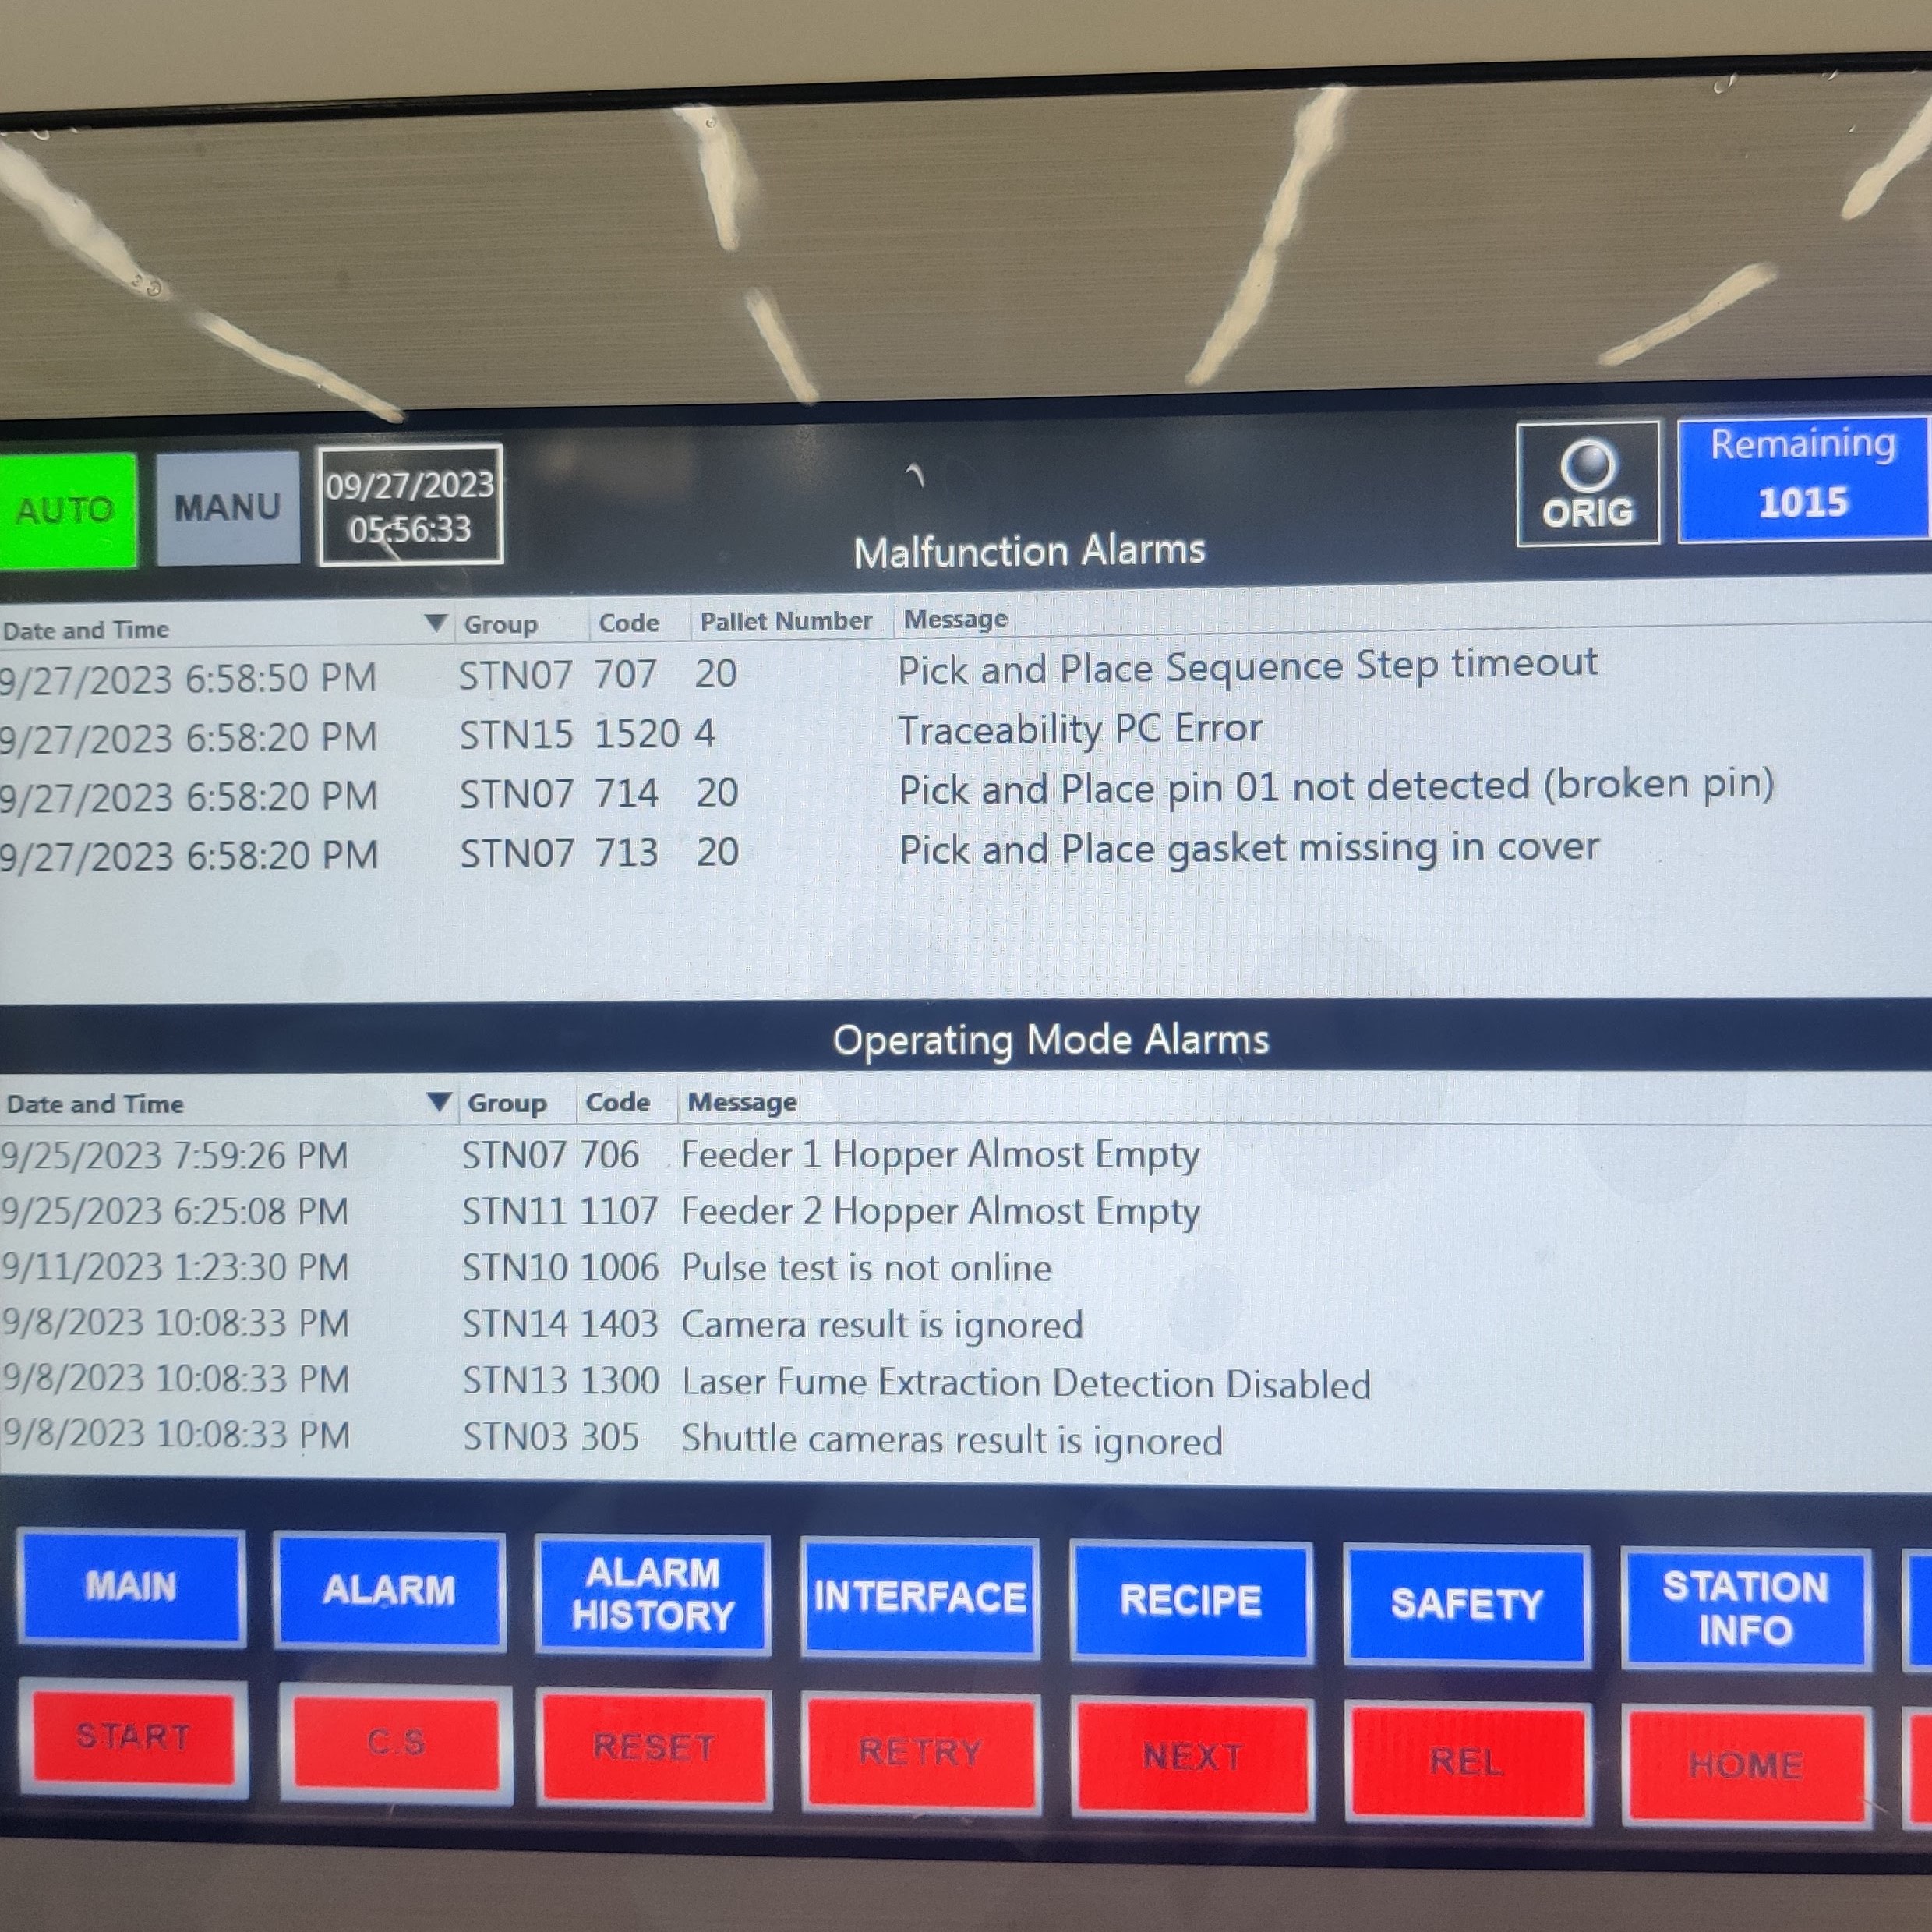
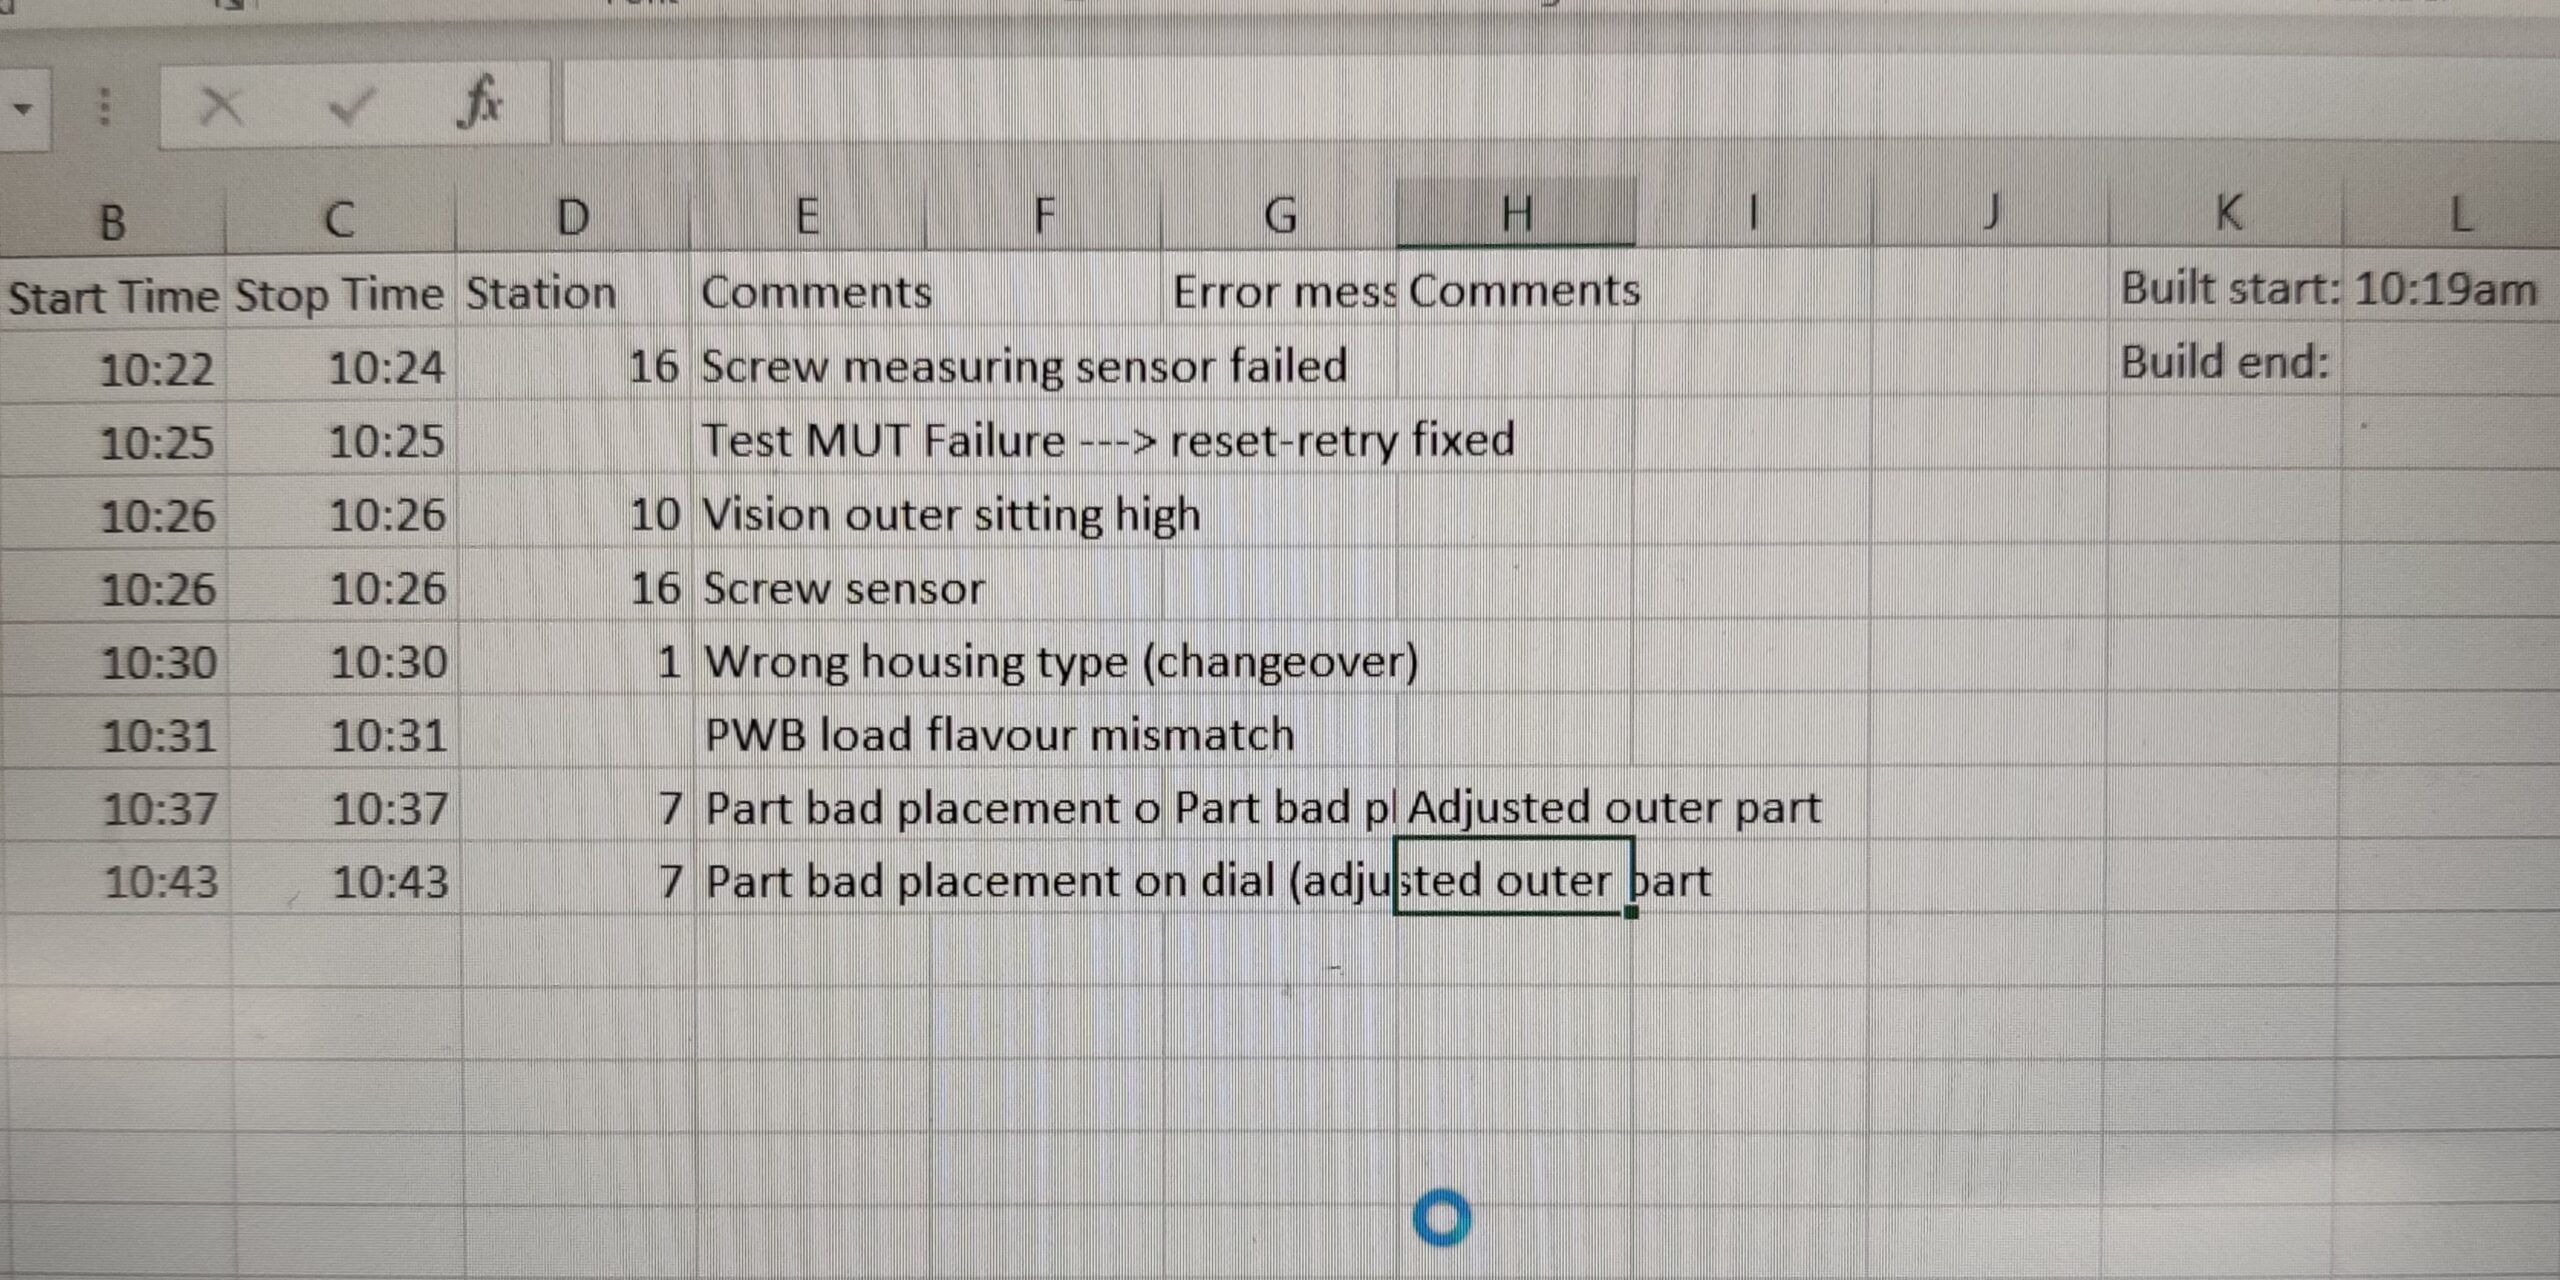
Once all individual processes were validated, run-at-rate builds were conducted to verify the line could meet the necessary production targets.
- Collaborated with product lead, project lead, test, and controls engineers to ensure the line ran without significant stoppages and met daily required production rate, per client’s forecasts.
- Performed PFMEA audits to ensure verify system’s ability to detect and mitigate process failures; i.e. failure-testing.
Learning Opportunities
Tedious work
It was very tedious to create the FE model, perform the design optimization, and write the code to automate everything in Ansys. Excel was used to automate the code, but constant troubleshooting was conducted to verify it to prevent errors from cascading. A lot of the work was repetitive and it was easy to make minor mistakes in the code that then contributed to more time being spent troubleshooting. I learned the importance of organization and planning, especially when working with a team, to achieve successful results while working with time and resource constraints. The best way to save time later is to do things right the first time.
Complexity of the design
A high degree of planning, organization, and coordination was required for this project. The design featured 21 design variables, cut-outs, and fillets. It consisted of 8 layers, 510 volumes, 1766 areas, 2036 lines, and 776 key points. The complexity of the design contributed to the amount of tedious work and long processing times.
Long processing times
Running the code for creating the FE model took anywhere from 20 minutes to 1 hour, depending on the performance of each team member’s computer and whether or not the full code was being run. As we were troubleshooting, the 20-40 minutes it took to run sections of the code started to add up every iteration. Running the code for the design optimization took anywhere from 1-3 hours because of all the design variables and side constraints. We decided working in parallel, each focusing on only a few design variables at a time, would be the best use of time iterating. After everyone ran their iterations, we combined our findings to create an optimized FE model with a good quality mesh and were able to successfully perform 1 final design optimization.
Teaming
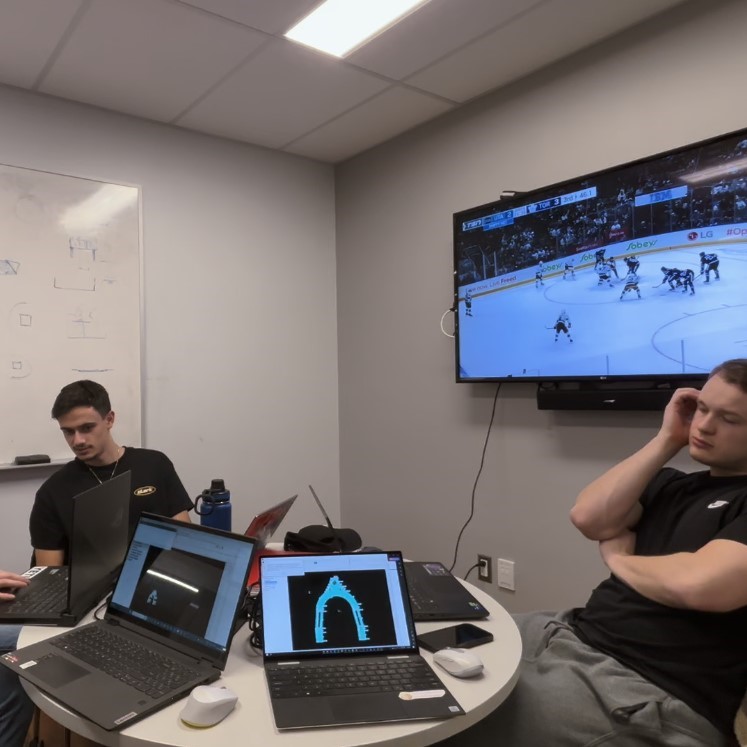
The team I worked with was very talented. In most of my prior teaming experiences, I’ve taken the leadership role to initiate team meetings, delegate tasks, and be aware of what everyone is working on. However, this team consisted of people who were also used to taking on the leadership roles in their past teams. It was a pleasant but unfamiliar experience for me working in a team where every member had a strong history of leadership and wanting to take ownership of the team. This taught me how to be a good team member even when I’m not in the usual position I’m used to; learning to adapt to identify and be willing to fill any gaps or needs within the team, holding myself accountable, and being an active contributor of ideas without being argumentative or inflexible.
Process Capability (Cpk) and Gage R&R Studies
To ensure accuracy and repeatability over continuous cycles, Statistical Process Control (SPC) was used to validate each process:
- A minimum of 30, continuous samples were produced, measured, and recorded.
- Minitab was used to perform complex statistical calculations, verify compliance with standard acceptance criteria, and visualize the data to make evidence-based decisions.
- Results were presented for approval to advance project to the next phase.

1. Project Overview
Objective: Minimize the weight of a Wishbone-style upper control arm while ensuring structural integrity
Material: 6061-T6 Aluminum alloy
Load: 2000 N axial force
Constraints:
- von Mises stress < 50 MPa
- Maximum deflection < 0.5 mm
Key Tasks
- ANSYS Mechanical APDL
- SolidWorks
- FEA and FEM
- Documentation via Excel
Team
5 Mechanical Engineers
2. Process and Work
Planning & Organization
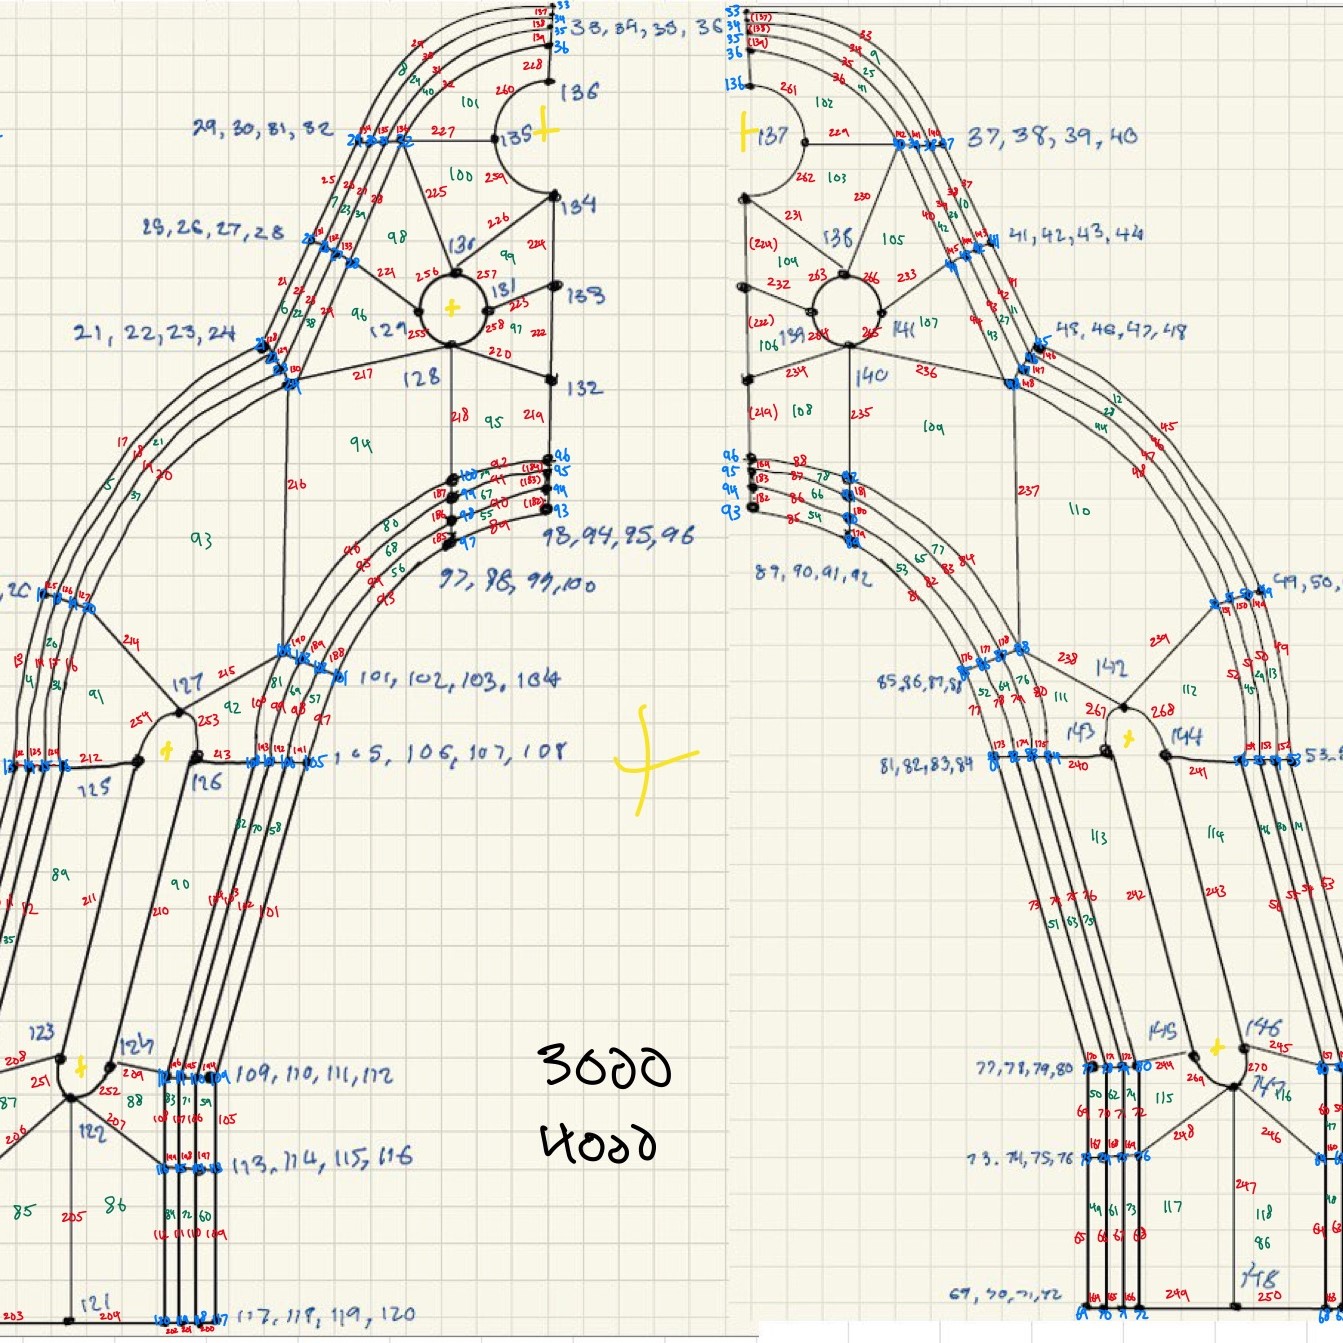
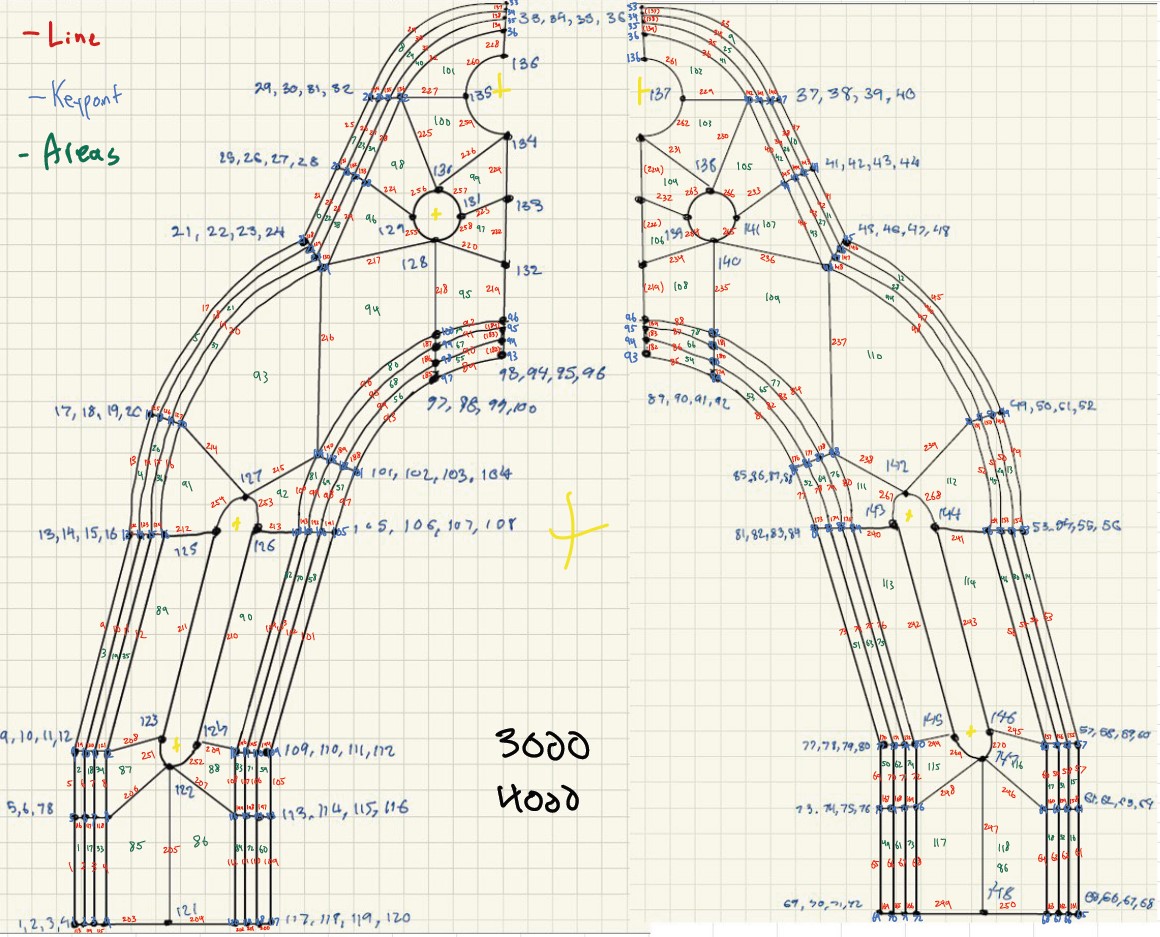
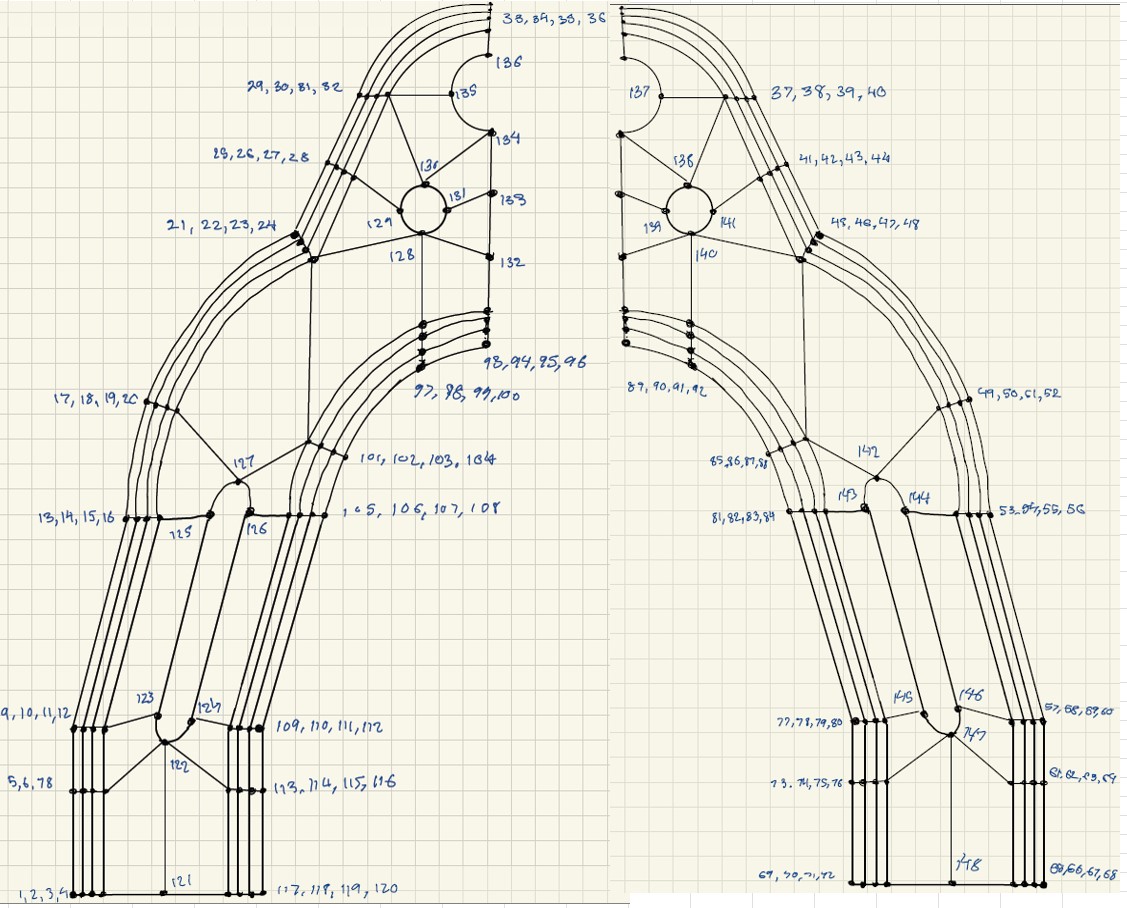
Created a shared Excel spreadsheet to document the design process and automate command line generation using the CONCATENATE function. Created a drawing to be used as a blueprint for each layer of the finite element (FE) model with keypoints, lines, and areas labelled. Thus, every layer of the FE model followed a consistent labelling pattern which allowed for each team member to work on the project in parallel with each other.
FEM (Bottom-up method)
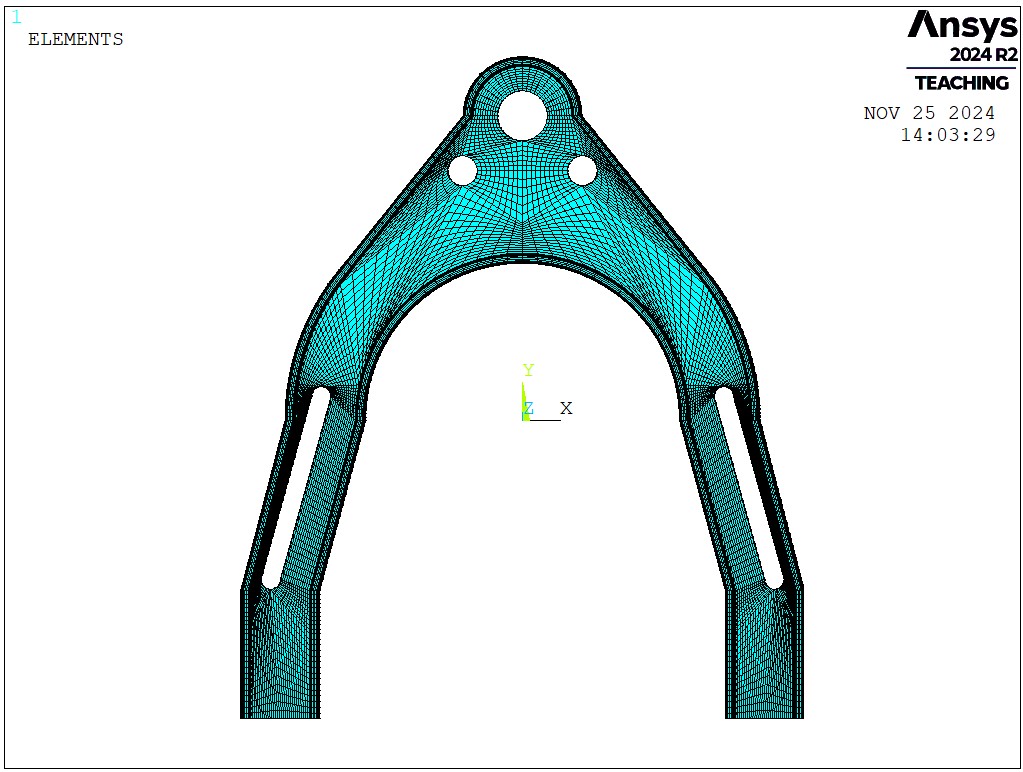
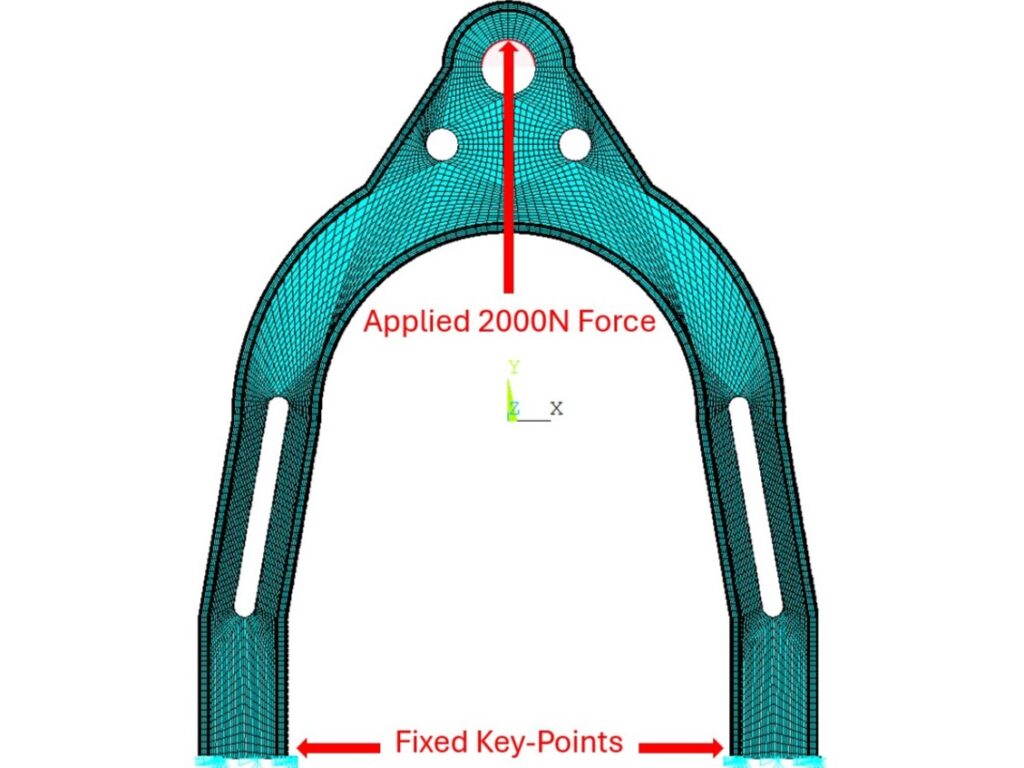
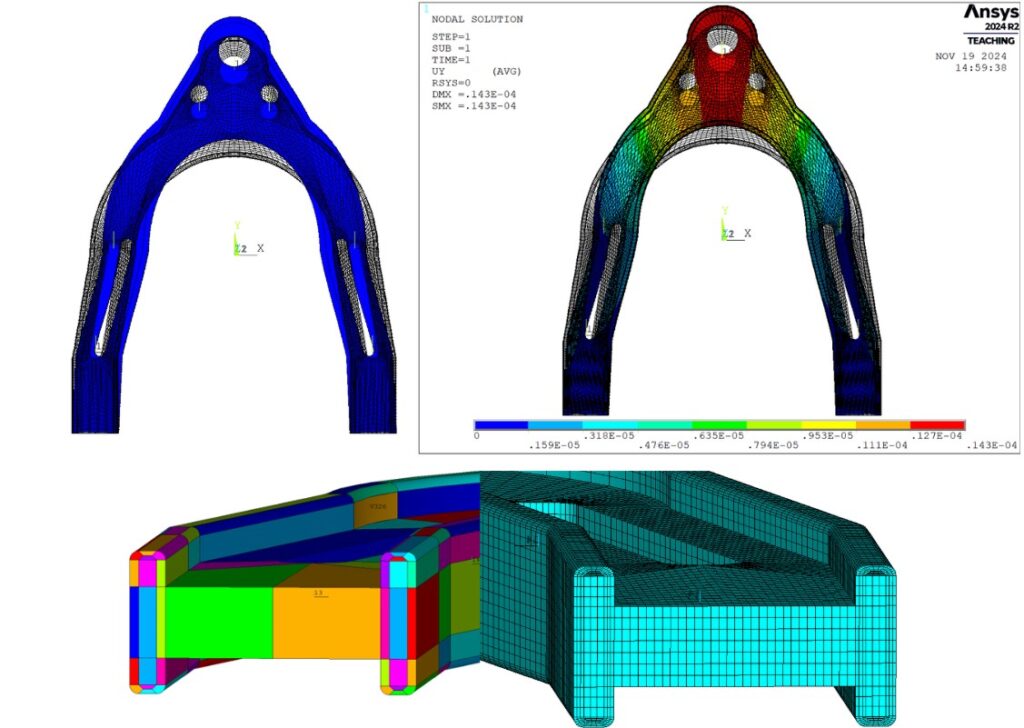
After organizing the model into layers, the FE model was constructed by defining keypoint coordinates, creating lines use keypoints, creating areas using lines, setting line divisions, and then meshing. Hexahedral elements were created to use mapped meshing. A 2000 N axial load was appliedat the top of the model with the bottom of both arms fully constrained.
Design Optimization
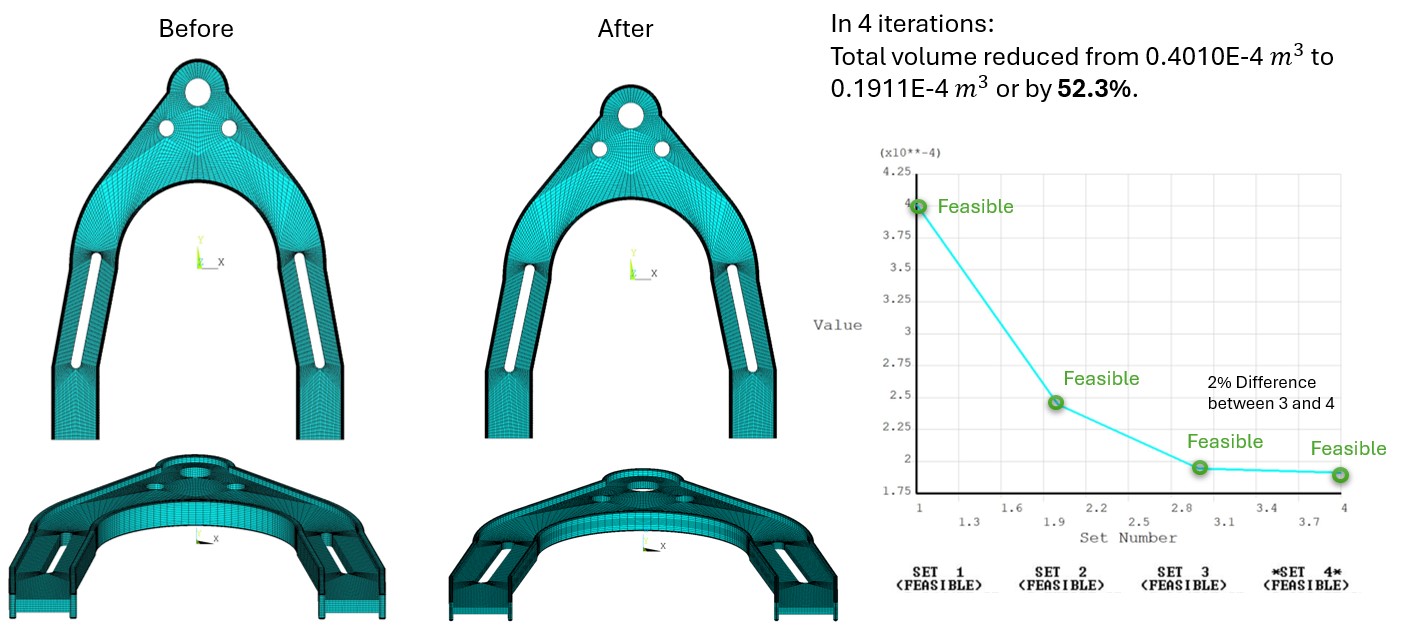
Performed design optimization in ANSYS with 21 design variables. Due to the high number of design variables that were dependent on each other, we had to determine ranges that each variable could change without compromising any features or shapes. The base model was saved and loaded each time to save time on running the code. Each simulation took around 2 hours, so each team member took on a set of variables to validate. Eventually, a successful run occurred.
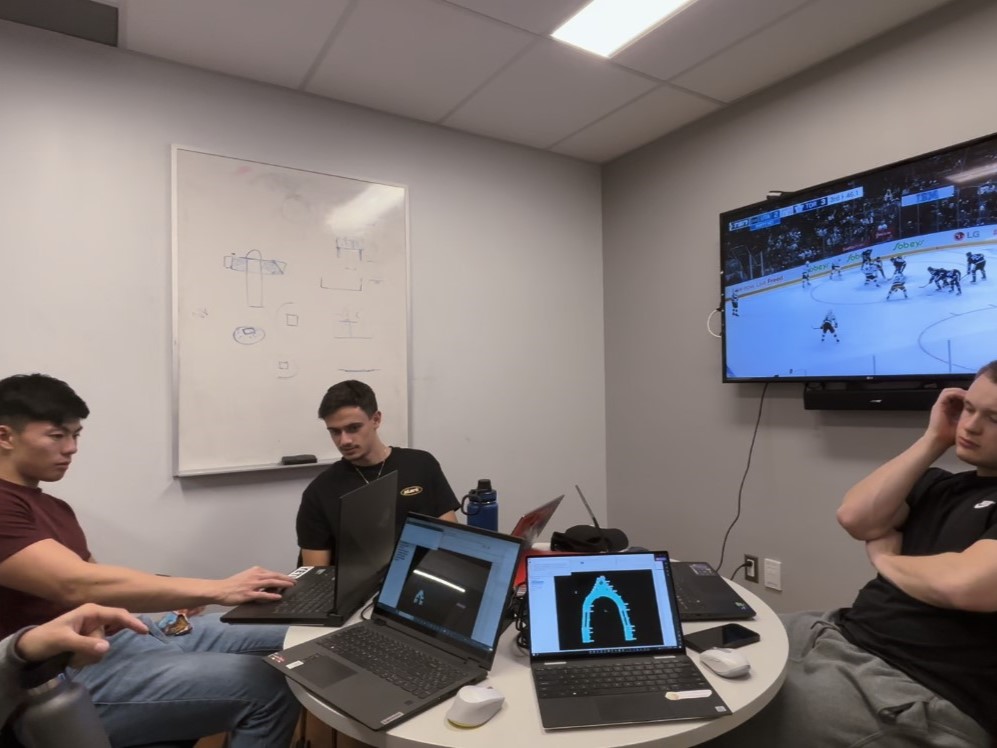
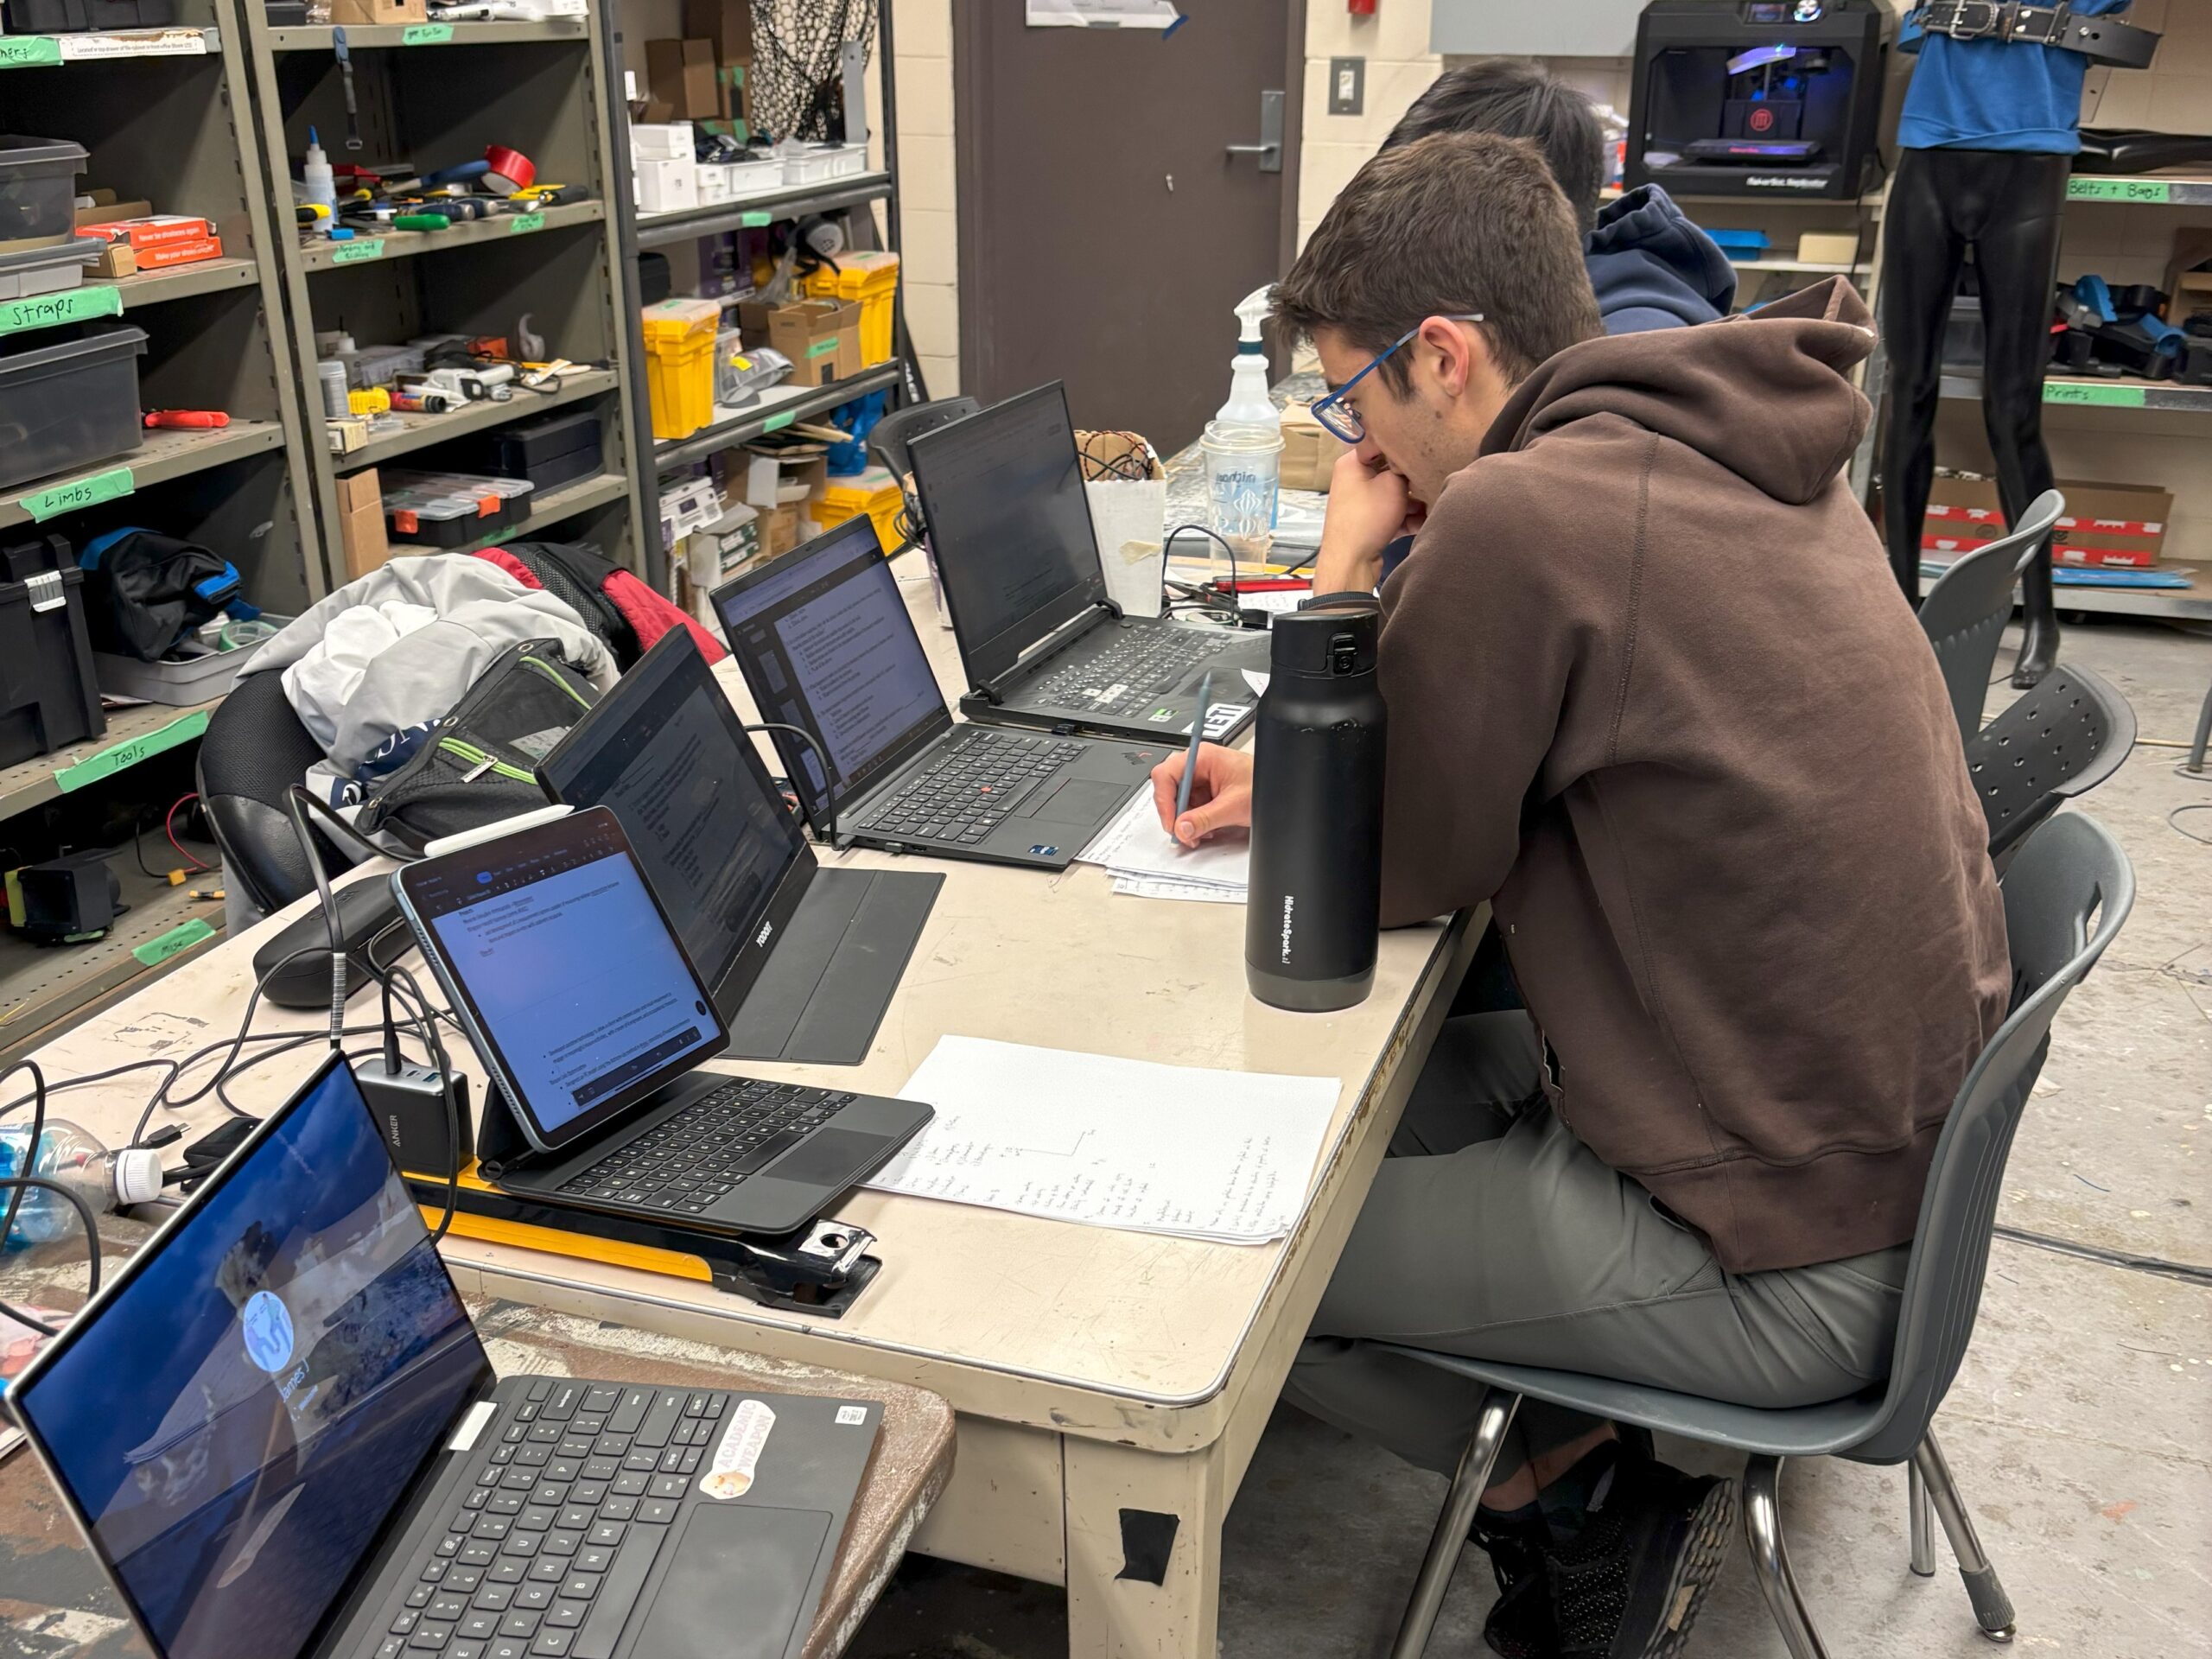
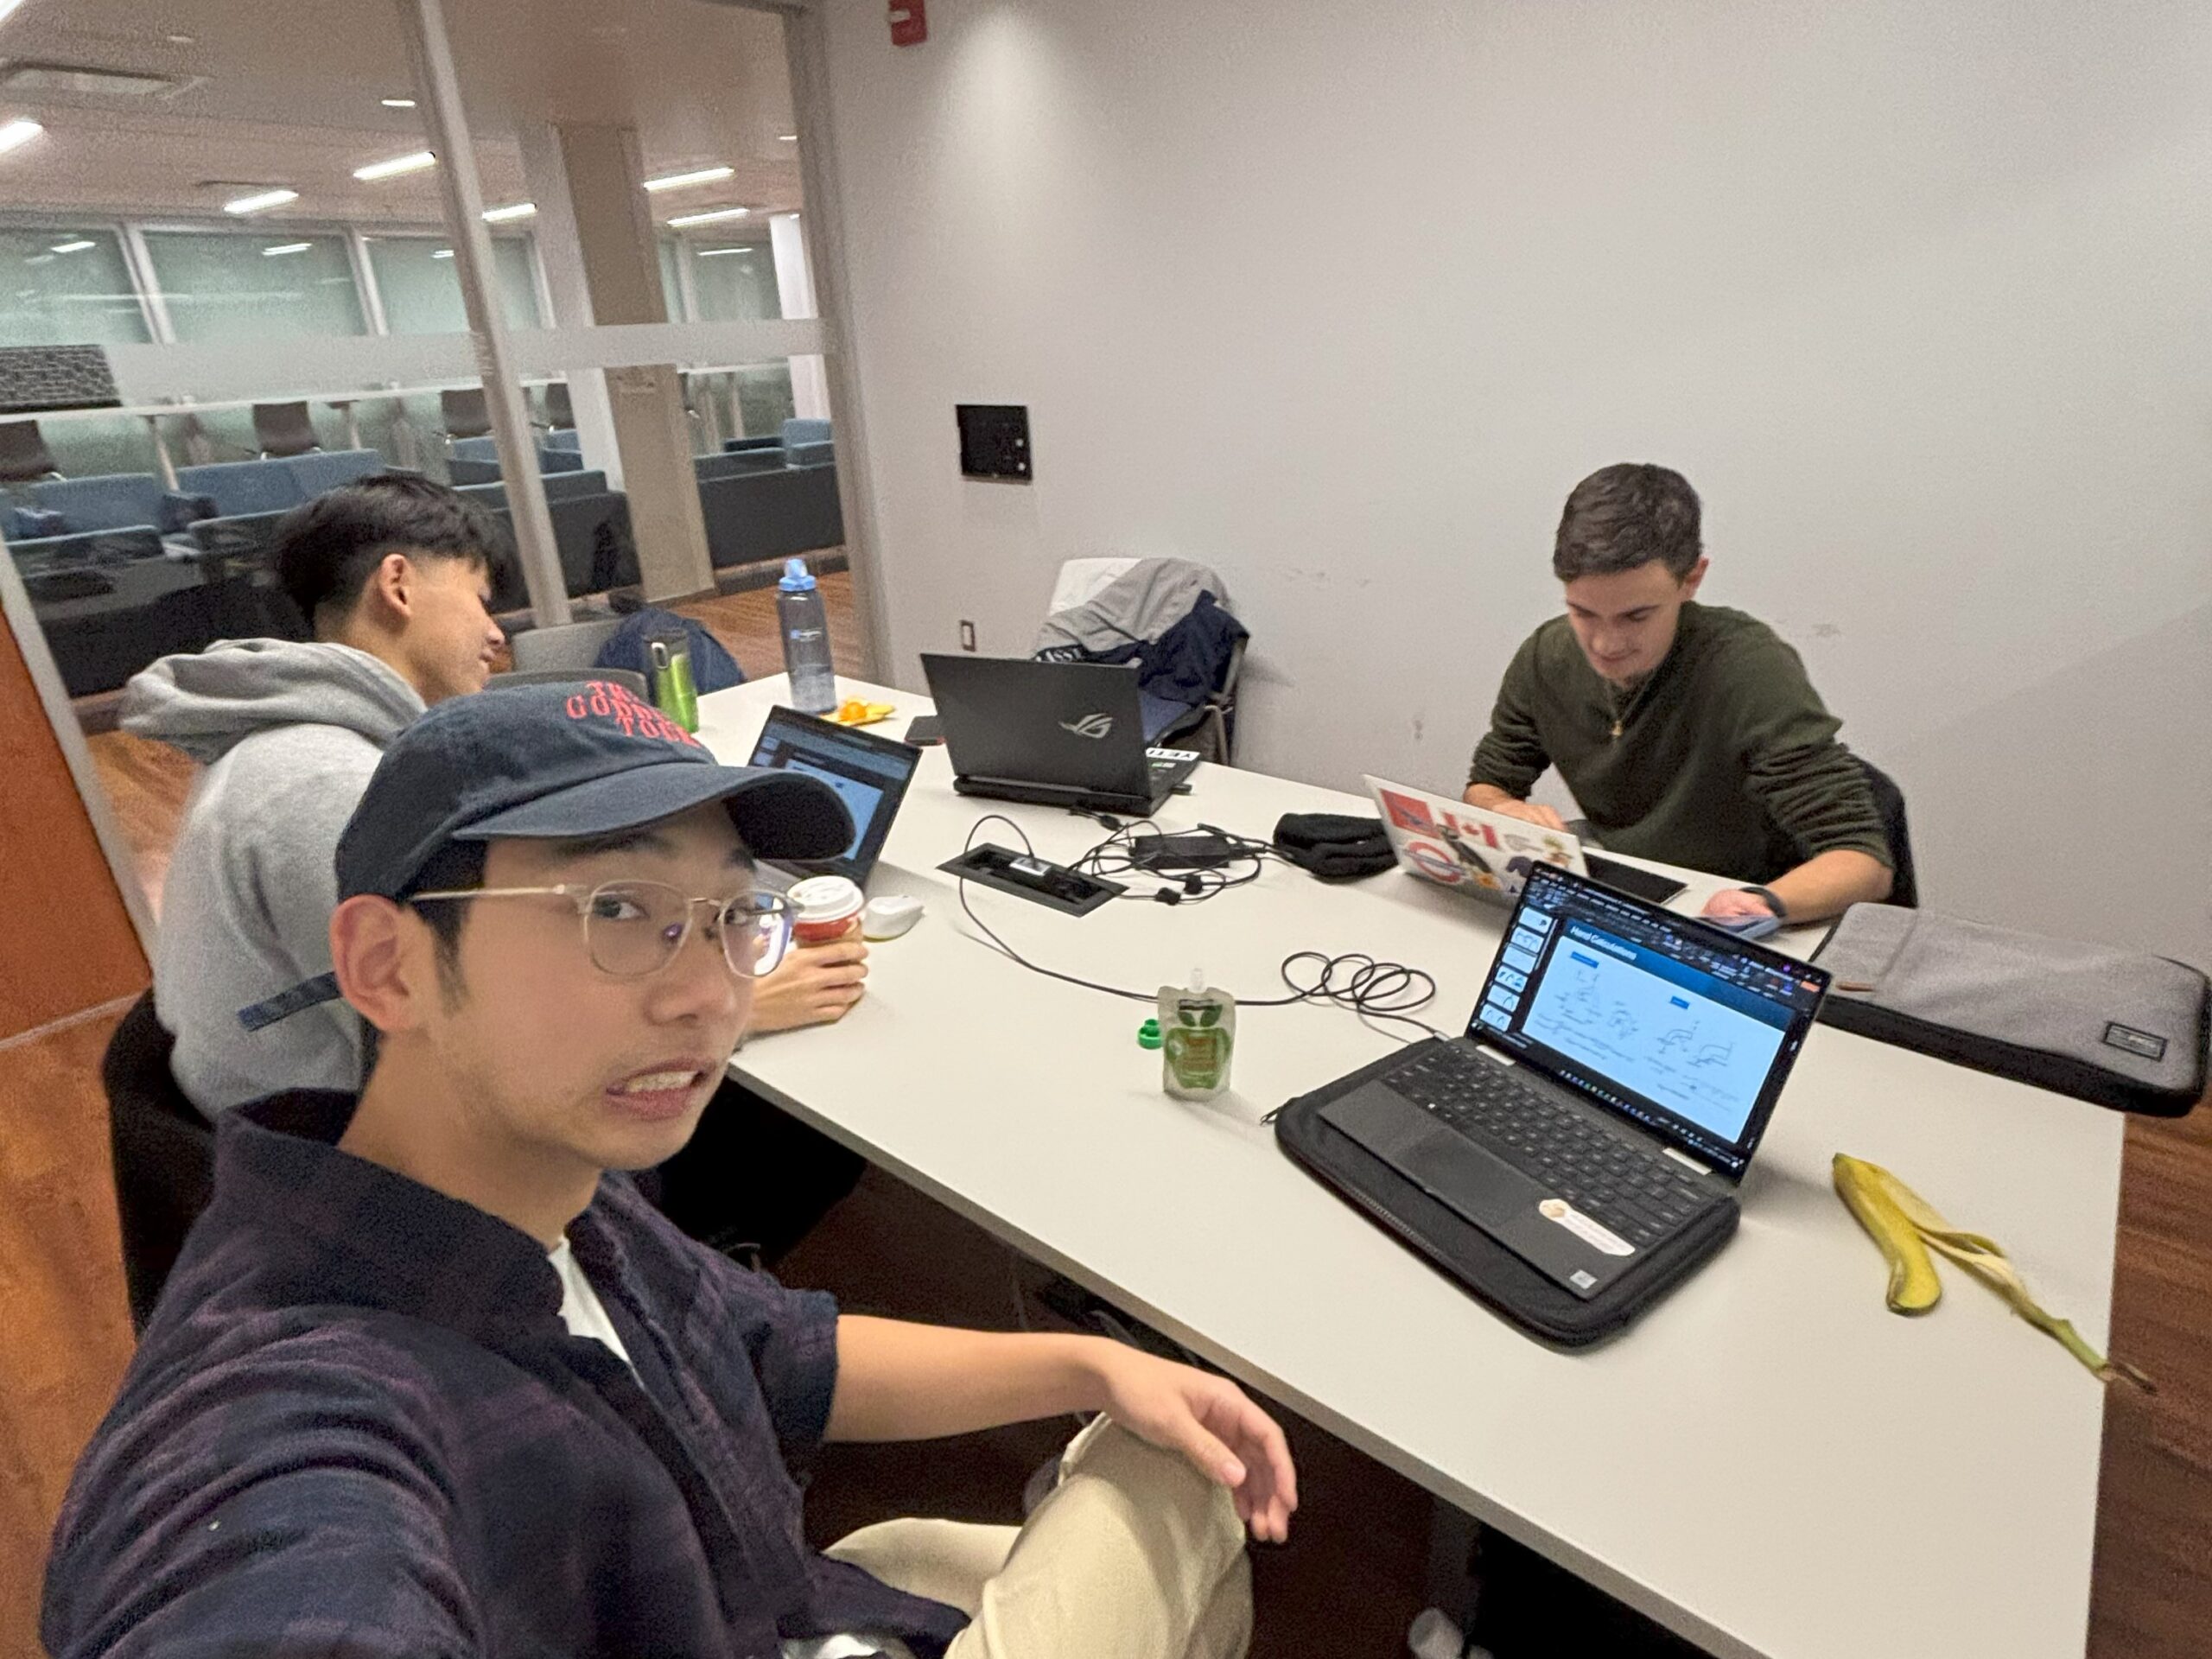
Teamwork
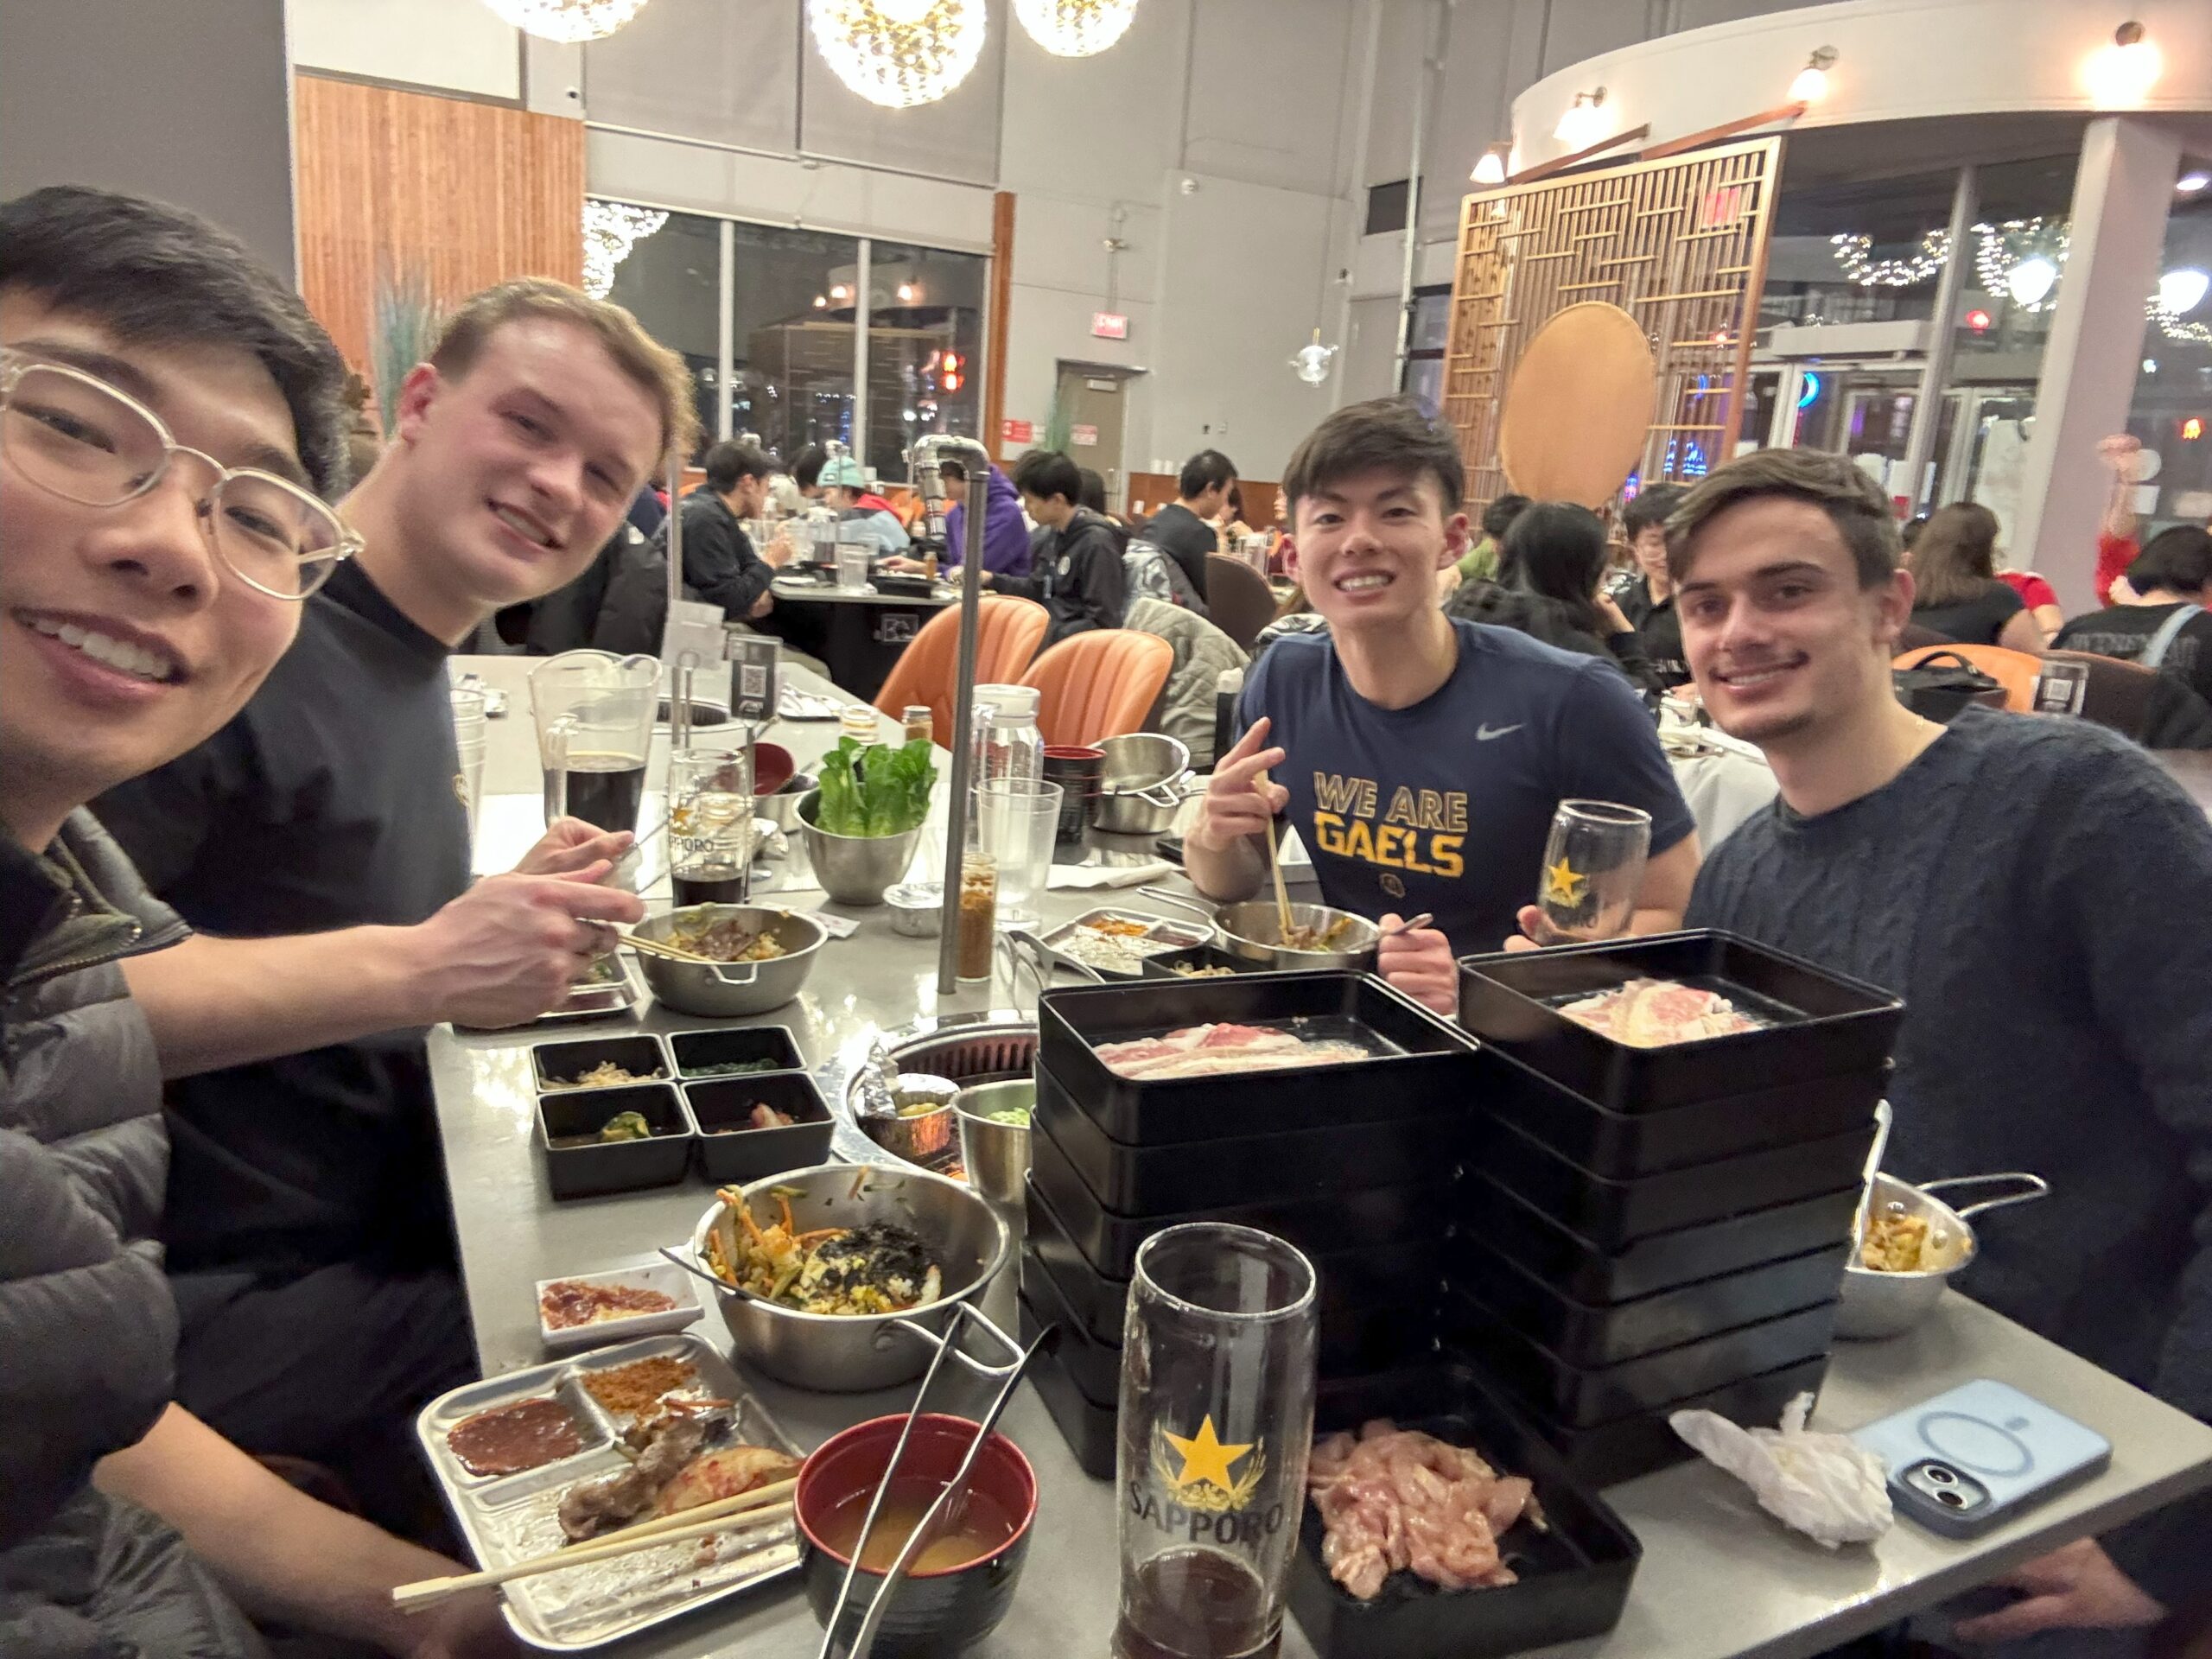
Prepared and delivered a successful and compelling presentation to peers, showcasing our team’s project and results.
3. Results
- Reduced total volume by 52.3%.
- FE model was made of 130k+ hexahedral elements: 8 layers (with fillets), 510 volumes, 1766 areas, 2036 lines, and 776 keypoints.
- Final run code consisted of 7584 lines of code.

